🚀 Supercharge your YouTube channel's growth with AI.
Try YTGrowAI FreeFlask Forms – Accept User Input Using Flask Forms

Hey guys!! In this tutorial, we will look into Flask forms and how to create them. So let’s just dive into it right now!
Basics of Flask Forms
Forms are an essential part of web applications, right from the user authentication interface to survey forms we require on our websites.
A typical example of forms is:
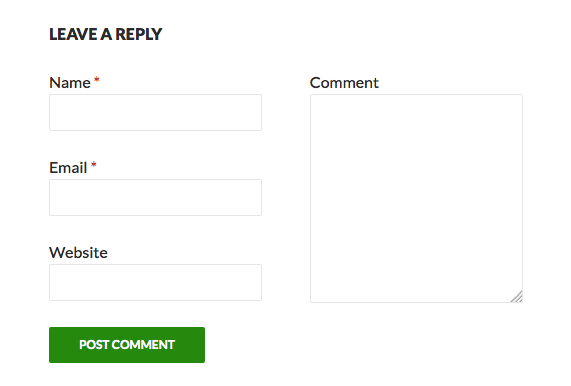
Here, When the user requests the page for the first time – he receives it via what we call a “GET method.”
After filling the form, the user data is sent to the server via the POST method.
We will learn more about these two methods in a bit.
These forms are displayed to the user through templates using the <form> attribute of HTML.
The Sample HTML form looks like this:
<form action="action_to_perform_after_submission" method = "POST">
    <p>Field1 <input type = "text" name = "Field1_name" /></p>
    <p>Field2 <input type = "text" name = "Field2_name" /></p>
    <p>Field3 <input type = "text" name = "Field3_name" /></p>
    <p><input type = "submit" value = "submit" /></p>
</form>
Here we define the action to perform on the form data, in the action attribute.
GET or POST Method for Sending Data
Each of these methods, also called HTTP methods, performs a specific action on the server resources. Each method corresponds to a different task. In this article, we will look at two of them, GET and the POST method.
- GET – This method pulls specific information form the webserver (just to view it)
- POST – This method sends data from the user to the server.
Therefore, for example, consider the Instagram application.
By default, the browser always uses the GET method to show resources on the webpage. Hence here you see different content – posts and memes (via the GET method).
But when you post a photo, basically you send information (photo and caption) to the Instagram application server. Hence this action(sending data to the server) is done via the POST method.
Similarly, consider a blog website. When you are reading a blog on the website, it is through the GET method. When you write and publish your blog, it is through the POST method.
Building your First Flask Form
We will now create a simple form in our flask application
1. Coding the flask file
Consider the following code:
from flask import Flask,render_template,request

app = Flask(__name__)

@app.route('/form')
def form():
    return render_template('form.html')

@app.route('/data/', methods = ['POST', 'GET'])
def data():
    if request.method == 'GET':
        return f"The URL /data is accessed directly. Try going to '/form' to submit form"
    if request.method == 'POST':
        form_data = request.form
        return render_template('data.html',form_data = form_data)


app.run(host='localhost', port=5000)
Here,
- The Form View displays the HTML Form Template to the users
- When the user submits the form, the Form Data is sent (as a part of the request object) to the Data View via the POST method.
- The Data View then recreates the form-data elements into the variable form_data and sends it to the data.html template for display.
The request.form has a dictionary structure:
form_data = {
'key1(field1_name)' : 'value1(field1_value)',
'key2(field2_name)' : 'value2(field2_value)',
.
.
}
Here, once the form is submitted, the browser is redirected to data function webpage.
Note: when we are directed to /data through the form, we are basically accessing the data webpage via the POST method.
2. Template Files
Here the form template-“form.html” will be:
<form action="/data" method = "POST">
    <p>Name <input type = "text" name = "Name" /></p>
    <p>City <input type = "text" name = "City" /></p>
    <p>Country <input type = "text" name = "Country" /></p>
    <p><input type = "submit" value = "Submit" /></p>
</form>
The data.html will display the form data:
{% for key,value in form_data.items() %}
<h2> {{key}}</h2>
<p> {{value}}</p>
{% endfor %}
Do check out our Flask Templates article for more information about Templates.
3. Implementation of the Code
Now run the server and check out

Hit submit and see

Also when you try to hit the URL “/data” directly from your browser, you will get this webpage via the GET method that will display an error as there’s no form data present.

Conclusion
That’s it, guys !! That was all about Forms in Flask. We will learn more about such Flask topics in the upcoming articles!!
Till then, happy coding 🙂


