🚀 Supercharge your YouTube channel's growth with AI.
Try YTGrowAI FreeBeginner’s Guide to Redis with Python

My database was choking under the weight of repeated queries for user sessions. Every time a user logged in, the app hit PostgreSQL with the same fetch request, slowing things down for everyone. I needed an in-memory layer between my app and the disk, something fast that could store session data without the overhead of a full database round-trip. That is when I found Redis.
This article covers what Redis is and how to use it from Python. By the end, you will understand data structures in Redis, how to run CRUD operations, use transactions and pipelines, and implement caching in a Python application. The examples here work with redis-py, the most widely used Python client for Redis.
TLDR
- Redis is an in-memory data structure server that stores data as key-value pairs with support for strings, lists, sets, hashes, and sorted sets
- Install Redis with brew install redis and the Python client with pip install redis, then start the server with redis-server
- Connect from Python using redis.Redis(host=”localhost”, port=6379, db=0)
- Pipelines batch multiple commands to reduce network round-trips and improve performance
- Redis is commonly used for session caching, rate limiting, real-time messaging, and leaderboards
What is Redis?
Redis stands for Remote Dictionary Server. It is an open-source, in-memory data store that excels at fast read and write operations. Unlike a traditional database that persists everything to disk, Redis keeps data in RAM, which makes it exceptionally quick for latency-sensitive tasks. It stores data as key-value pairs, but the values support rich data structures including strings, lists, sets, sorted sets, and hashes.
Typical use cases include caching frequently accessed data to reduce database load, managing user sessions with fast token lookup, rate limiting API requests, and powering real-time features like chat and live leaderboards. Redis also supports pub/sub messaging for event-driven architectures and can persist data to disk for durability when needed.
Redis brings several capabilities that make it a strong companion for Python applications. Its in-memory design delivers sub-millisecond latency for reads and writes. Data persistence options mean data survives server restarts when configured properly. Built-in replication supports horizontal scaling and fault tolerance. Pub/sub enables real-time communication between parts of an application.
From the Python side, redis-py is well-maintained, fully documented, and wraps every Redis command with Pythonic method calls. The library handles connection pooling automatically and supports both synchronous and asynchronous usage patterns. Because Redis commands operate on data structures directly, there is no need for an ORM or query builder. For developers who prefer working with Python classes and objects, Redis hashes map naturally to object-like representations. If you are new to Python and want to understand how functions work in Python first, the Python functions guide covers the basics you need before working with any external library.
Installing and Setting up Redis
On macOS, the simplest way to install Redis is through Homebrew. Open a terminal and run the command below to install it on your system.
brew install redis
On Ubuntu or Debian-based Linux distributions, apt-get install redis-server achieves the same result. Windows users can run Redis through the Windows Subsystem for Linux or use a containerized setup with Docker.
The Python client library redis-py is installed separately through pip, the standard Python package manager. You can install it with the command shown below.
pip install redis
Starting the Redis server is straightforward. On Mac or Linux, run the redis-server command in your terminal and the server will begin listening on the default port 6379.
redis-server

Connecting from Python
Once the Redis server is running, connecting from Python takes only a few lines of code. The redis-py library handles the network communication and returns Python objects directly from Redis commands.
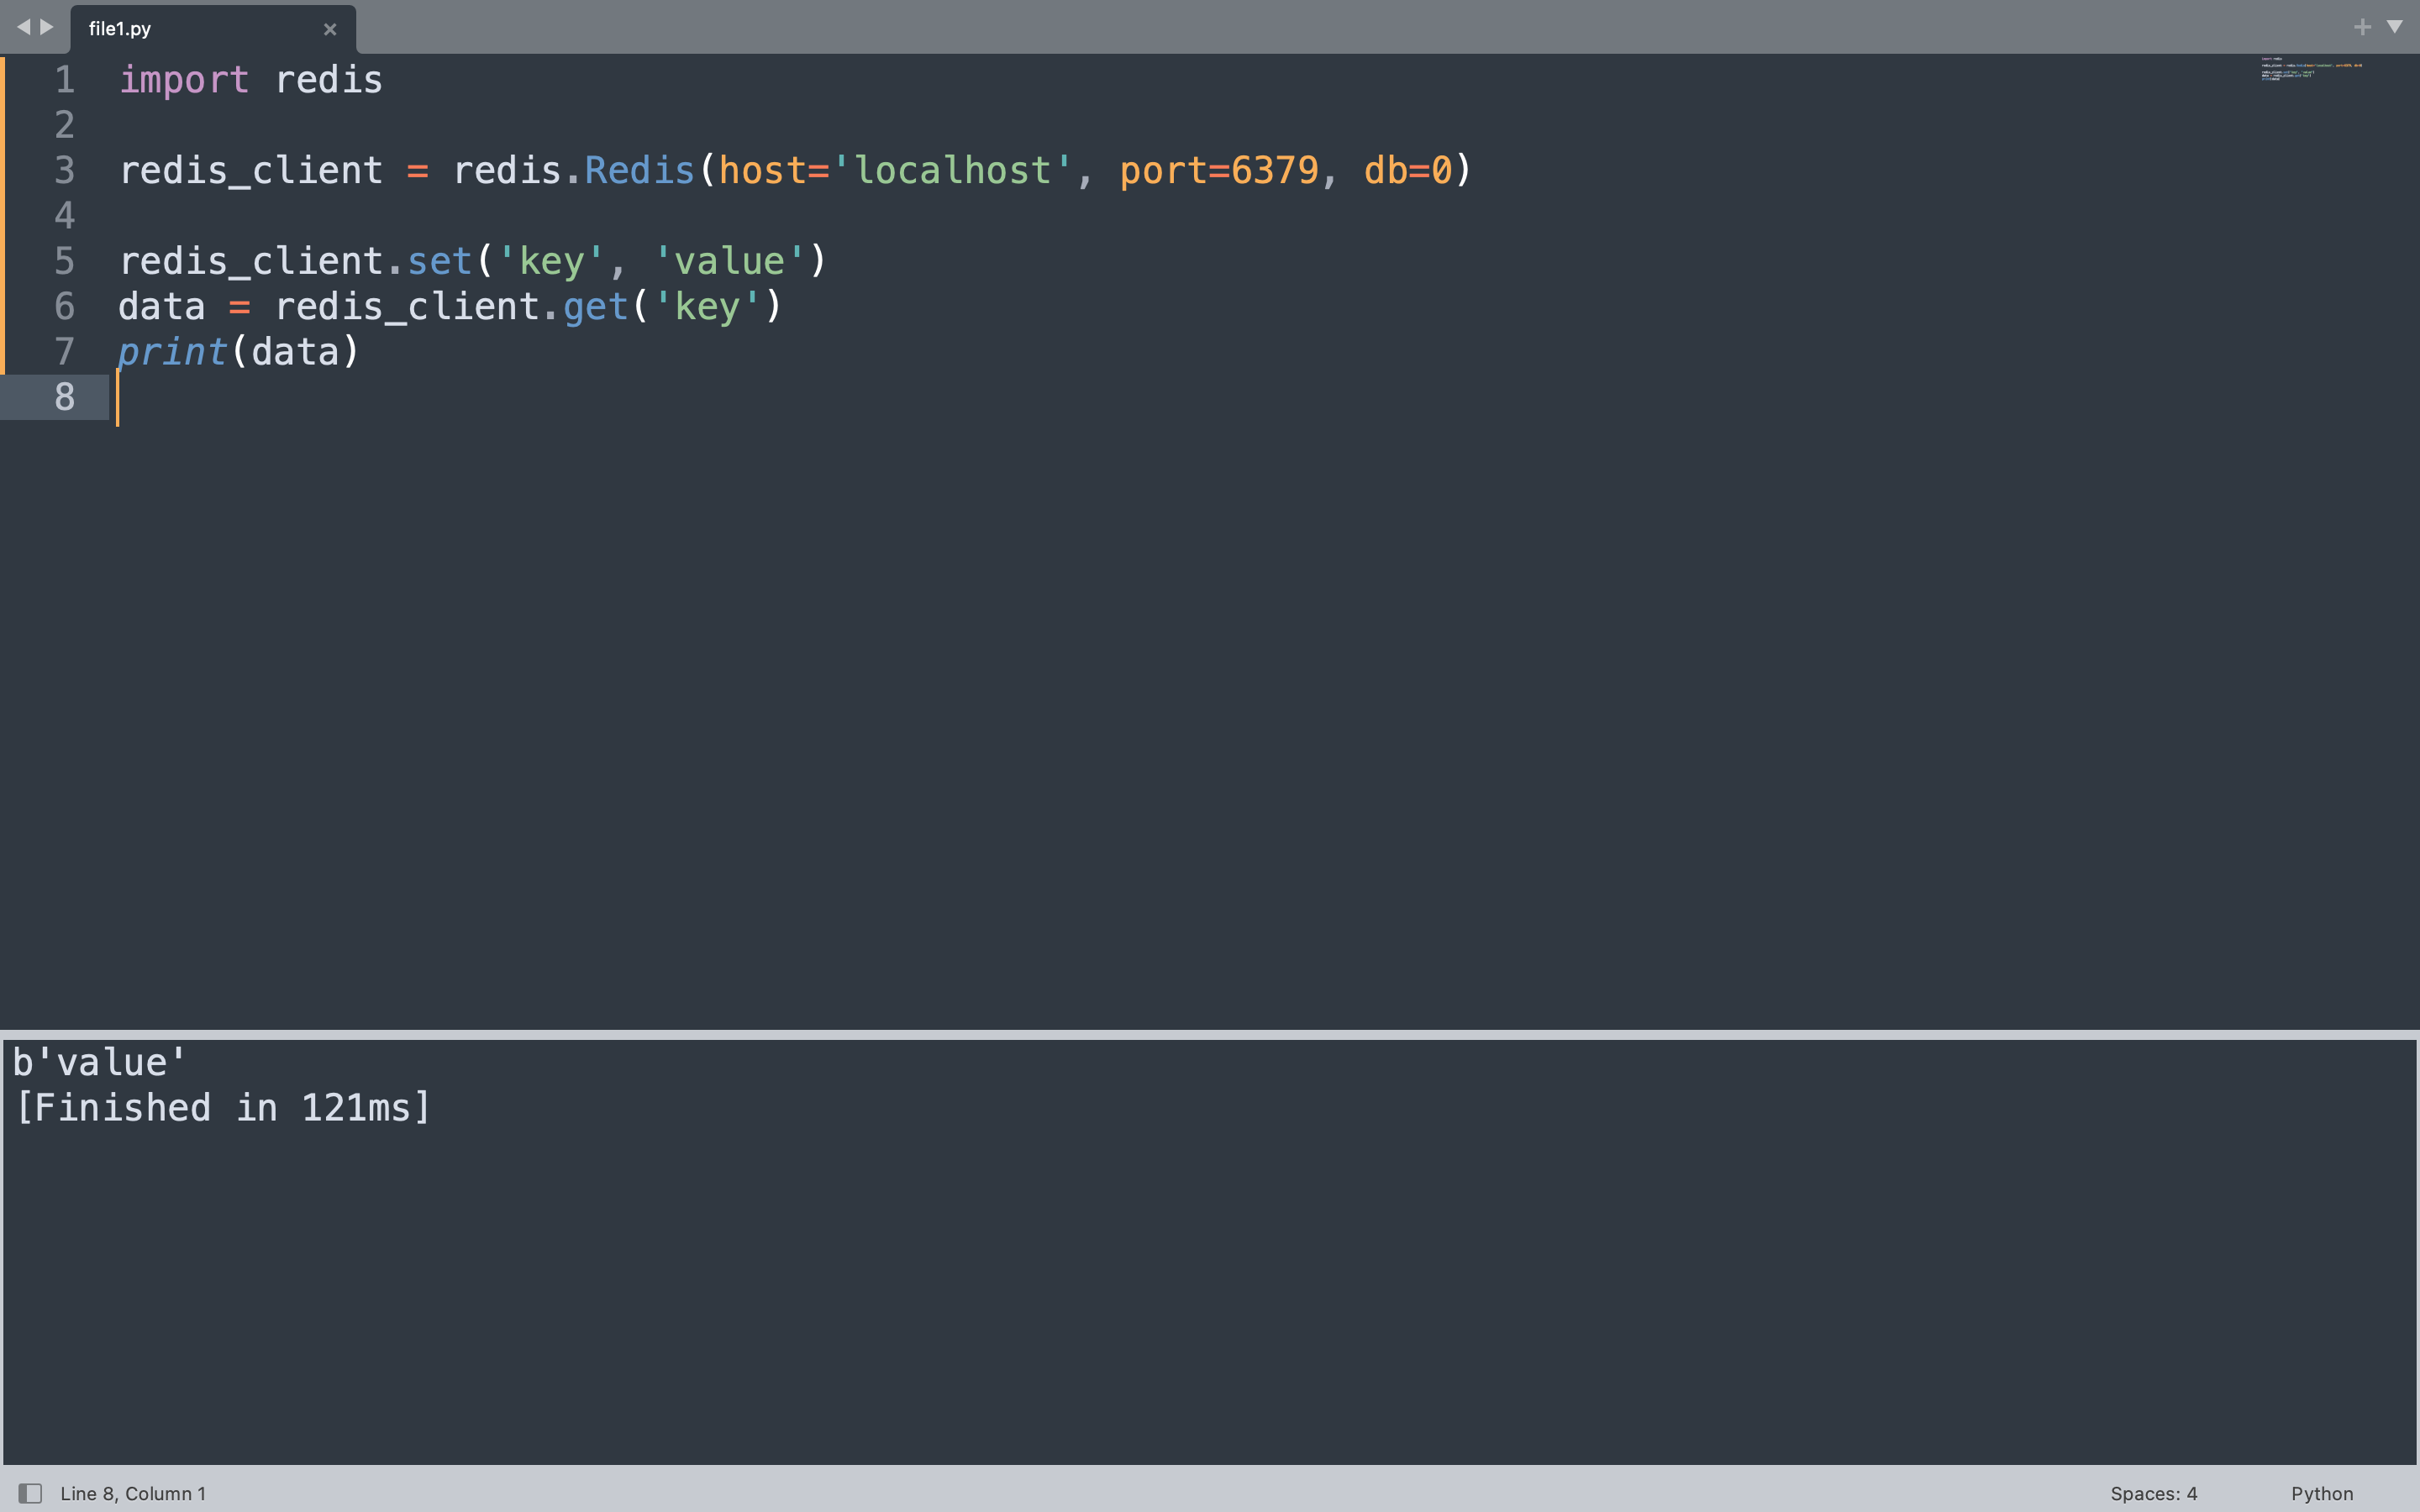
The example below creates a Redis client connected to localhost on the default port 6379. It stores a key-value pair and immediately retrieves it, printing the result.
import redis

redis_client = redis.Redis(host="localhost", port=6379, db=0, decode_responses=False)

redis_client.set("key", "value")
data = redis_client.get("key")
print(data)
This code imports the redis module, creates a client pointing to the local Redis instance, writes the string value “value” under the key “key”, then reads it back and prints the result. Redis stores and returns bytes, so the output appears as a bytes object.
b'value'
Redis Data Structures
Redis distinguishes itself from simple key-value stores by supporting rich data structures as values. Each structure comes with its own set of commands optimized for that type. Understanding these structures helps you model data correctly and get the best performance from Redis. The Python frozenset article explains immutable collections, which shares conceptual ground with Redis sets where uniqueness is enforced at the data structure level. For a broader view of Python operators used in expressions throughout these examples, refer to the operators reference.
Strings
A Redis string is the most basic data structure, holding a binary-safe value up to 512MB. Strings work well for counters, session tokens, and cached HTML fragments. The set method stores a value and get retrieves it.
The code below creates two string keys, “name” and “age”, then reads them back and prints the decoded values.
import redis

redis_client = redis.Redis(host="localhost", port=6379, db=0, decode_responses=False)

redis_client.set("name", "Alice")
redis_client.set("age", "25")

name = redis_client.get("name")
age = redis_client.get("age")
print(name.decode())
print(age.decode())
This creates two string keys in Redis. The set call stores each value, and the get calls retrieve the bytes. Decoding converts the bytes to a Python string so the values print as plain text.
Alice
25

Lists
Redis lists are ordered collections of strings, allowing duplicates. They behave like linked lists under the hood, which makes push and pop operations at either end extremely fast. Lists suit activity feeds, message queues, and producer-consumer patterns. This is similar to how a Python list works but with the added durability and network accessibility of a central server.
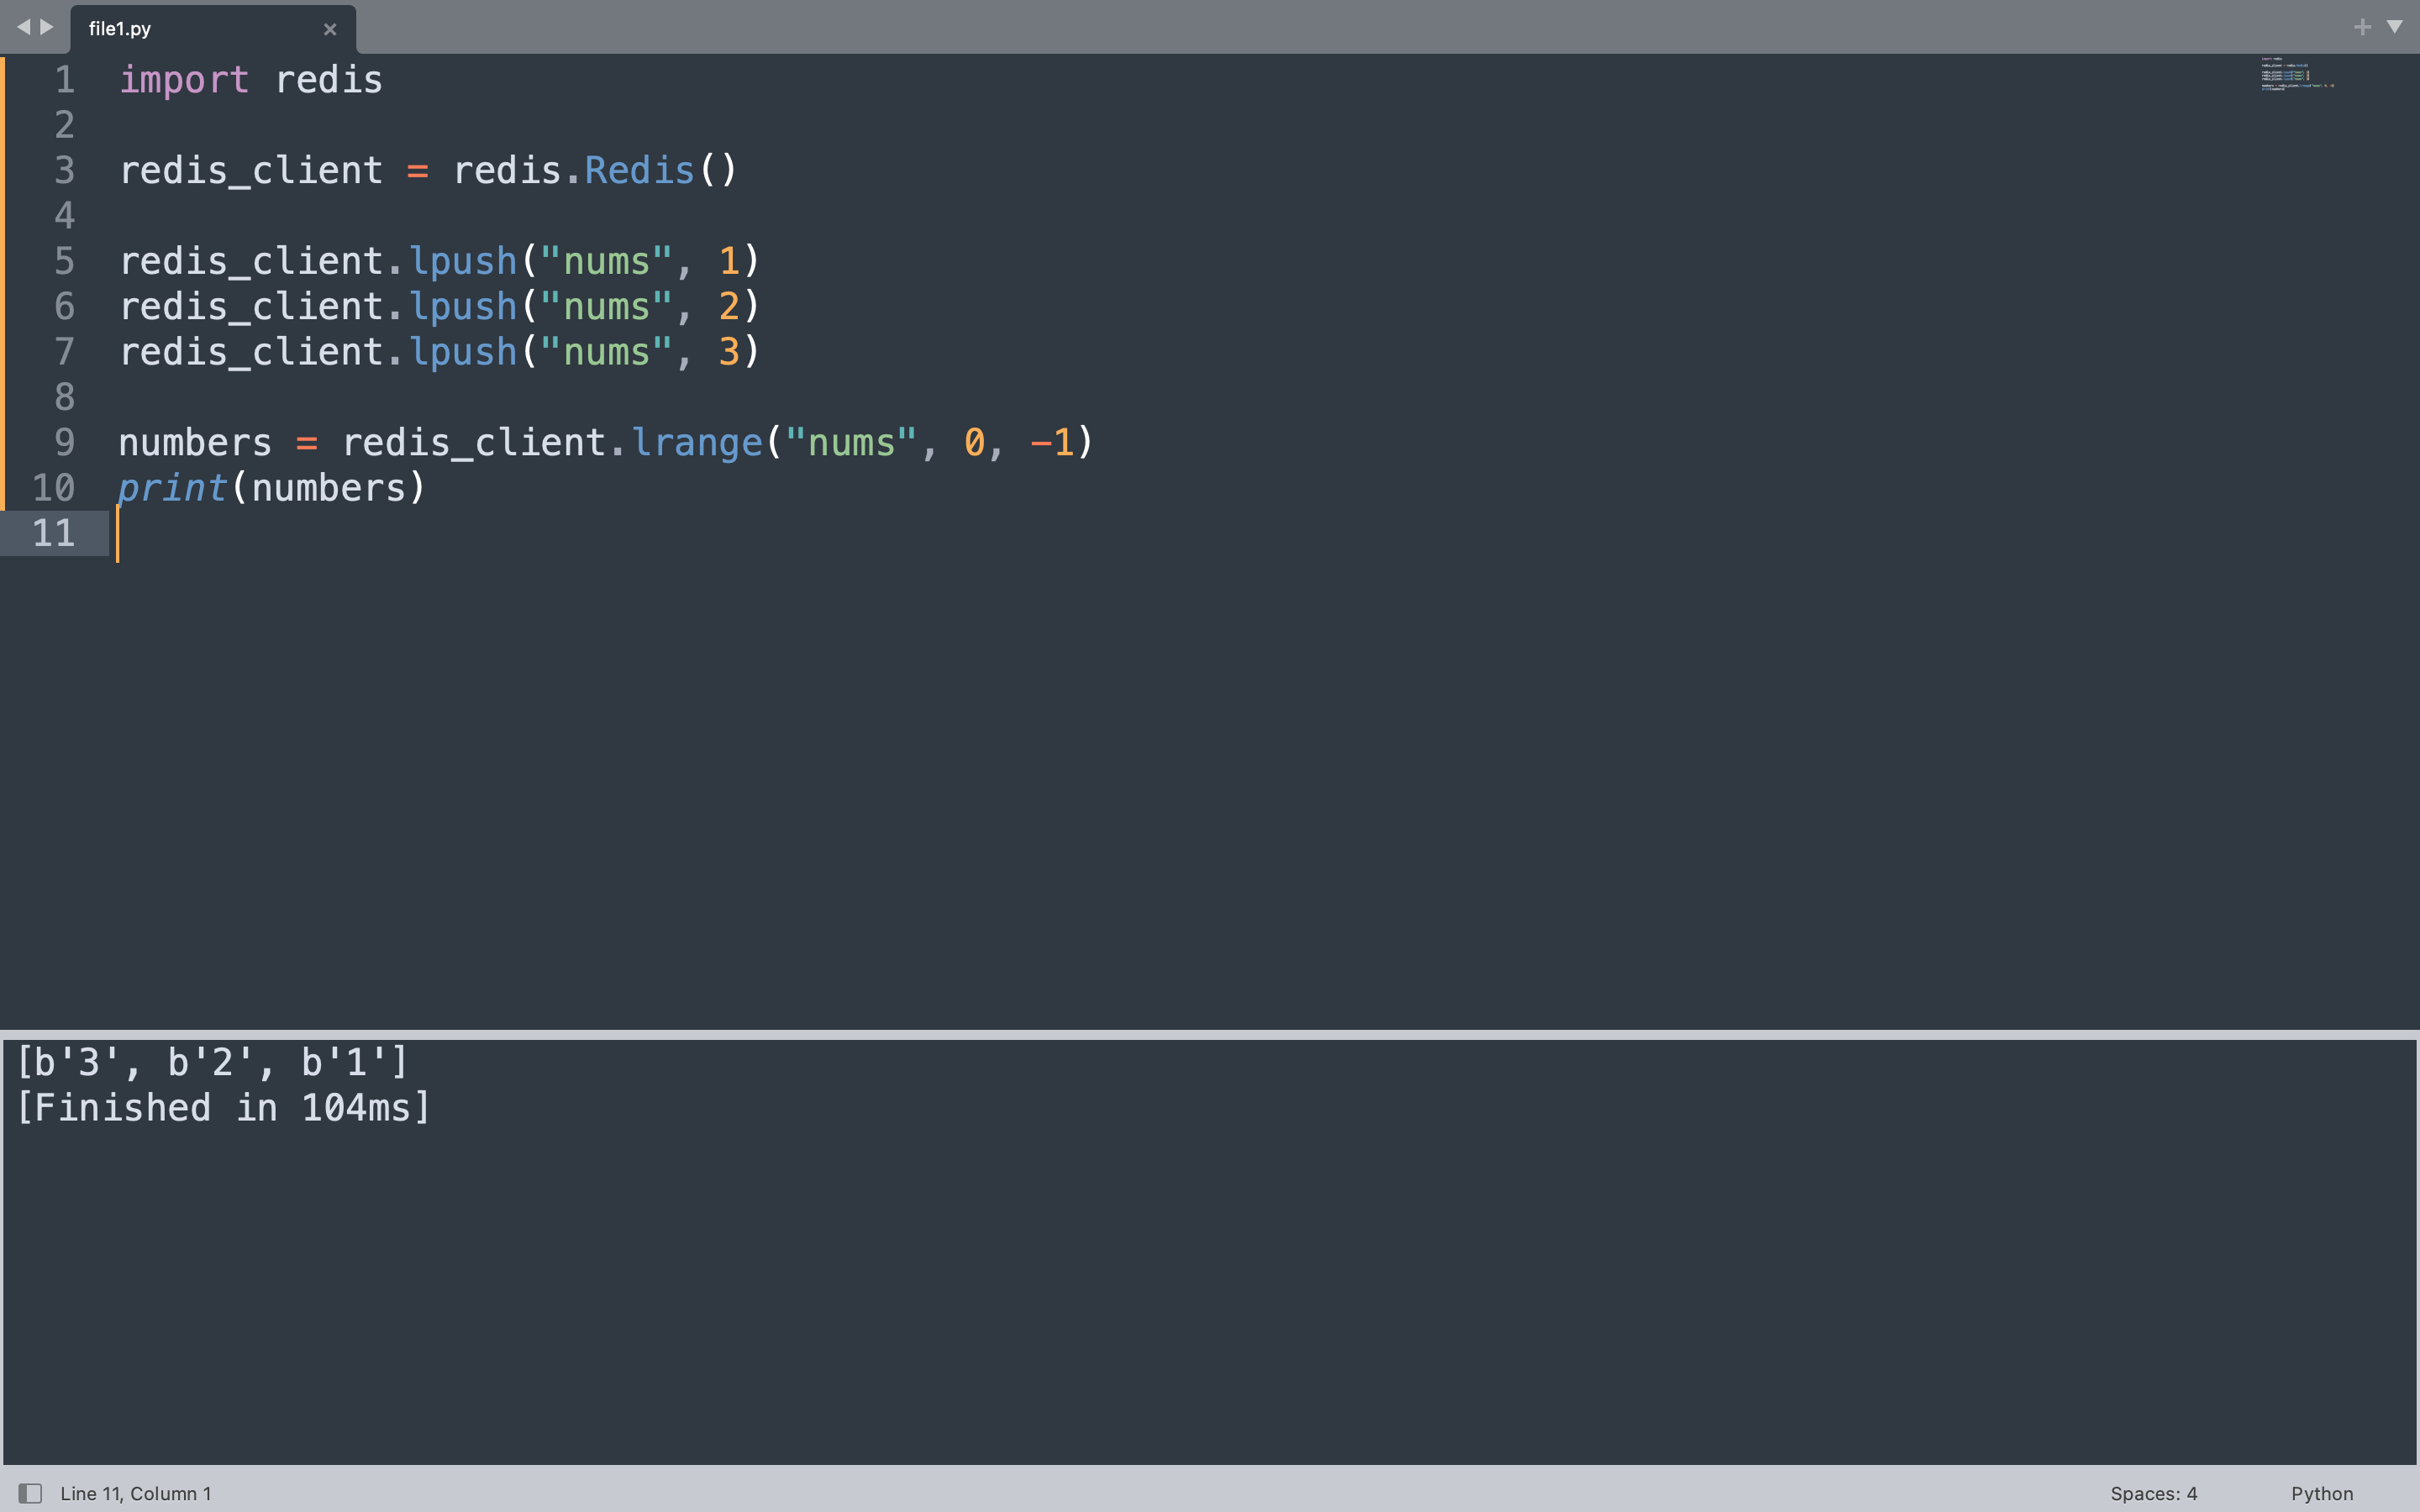
The code below adds three numbers to a list called “nums” using lpush, which inserts elements at the head. Then lrange retrieves the entire list from start to end.
import redis

redis_client = redis.Redis(host="localhost", port=6379, db=0, decode_responses=False)

redis_client.delete("nums")

redis_client.lpush("nums", 1)
redis_client.lpush("nums", 2)
redis_client.lpush("nums", 3)

numbers = redis_client.lrange("nums", 0, -1)
print(numbers)
lpush adds each number to the left side of the list, so the final order from left to right is 3, 2, 1. The lrange call with 0 to -1 returns all elements from the first to the last position.
[b'3', b'2', b'1']
Sets
Redis sets are unordered collections of unique strings. Because every element must be distinct, adding a duplicate has no effect. Sets support mathematical operations like union, intersection, and difference, making them useful for tags, friendships, and event membership tracking.
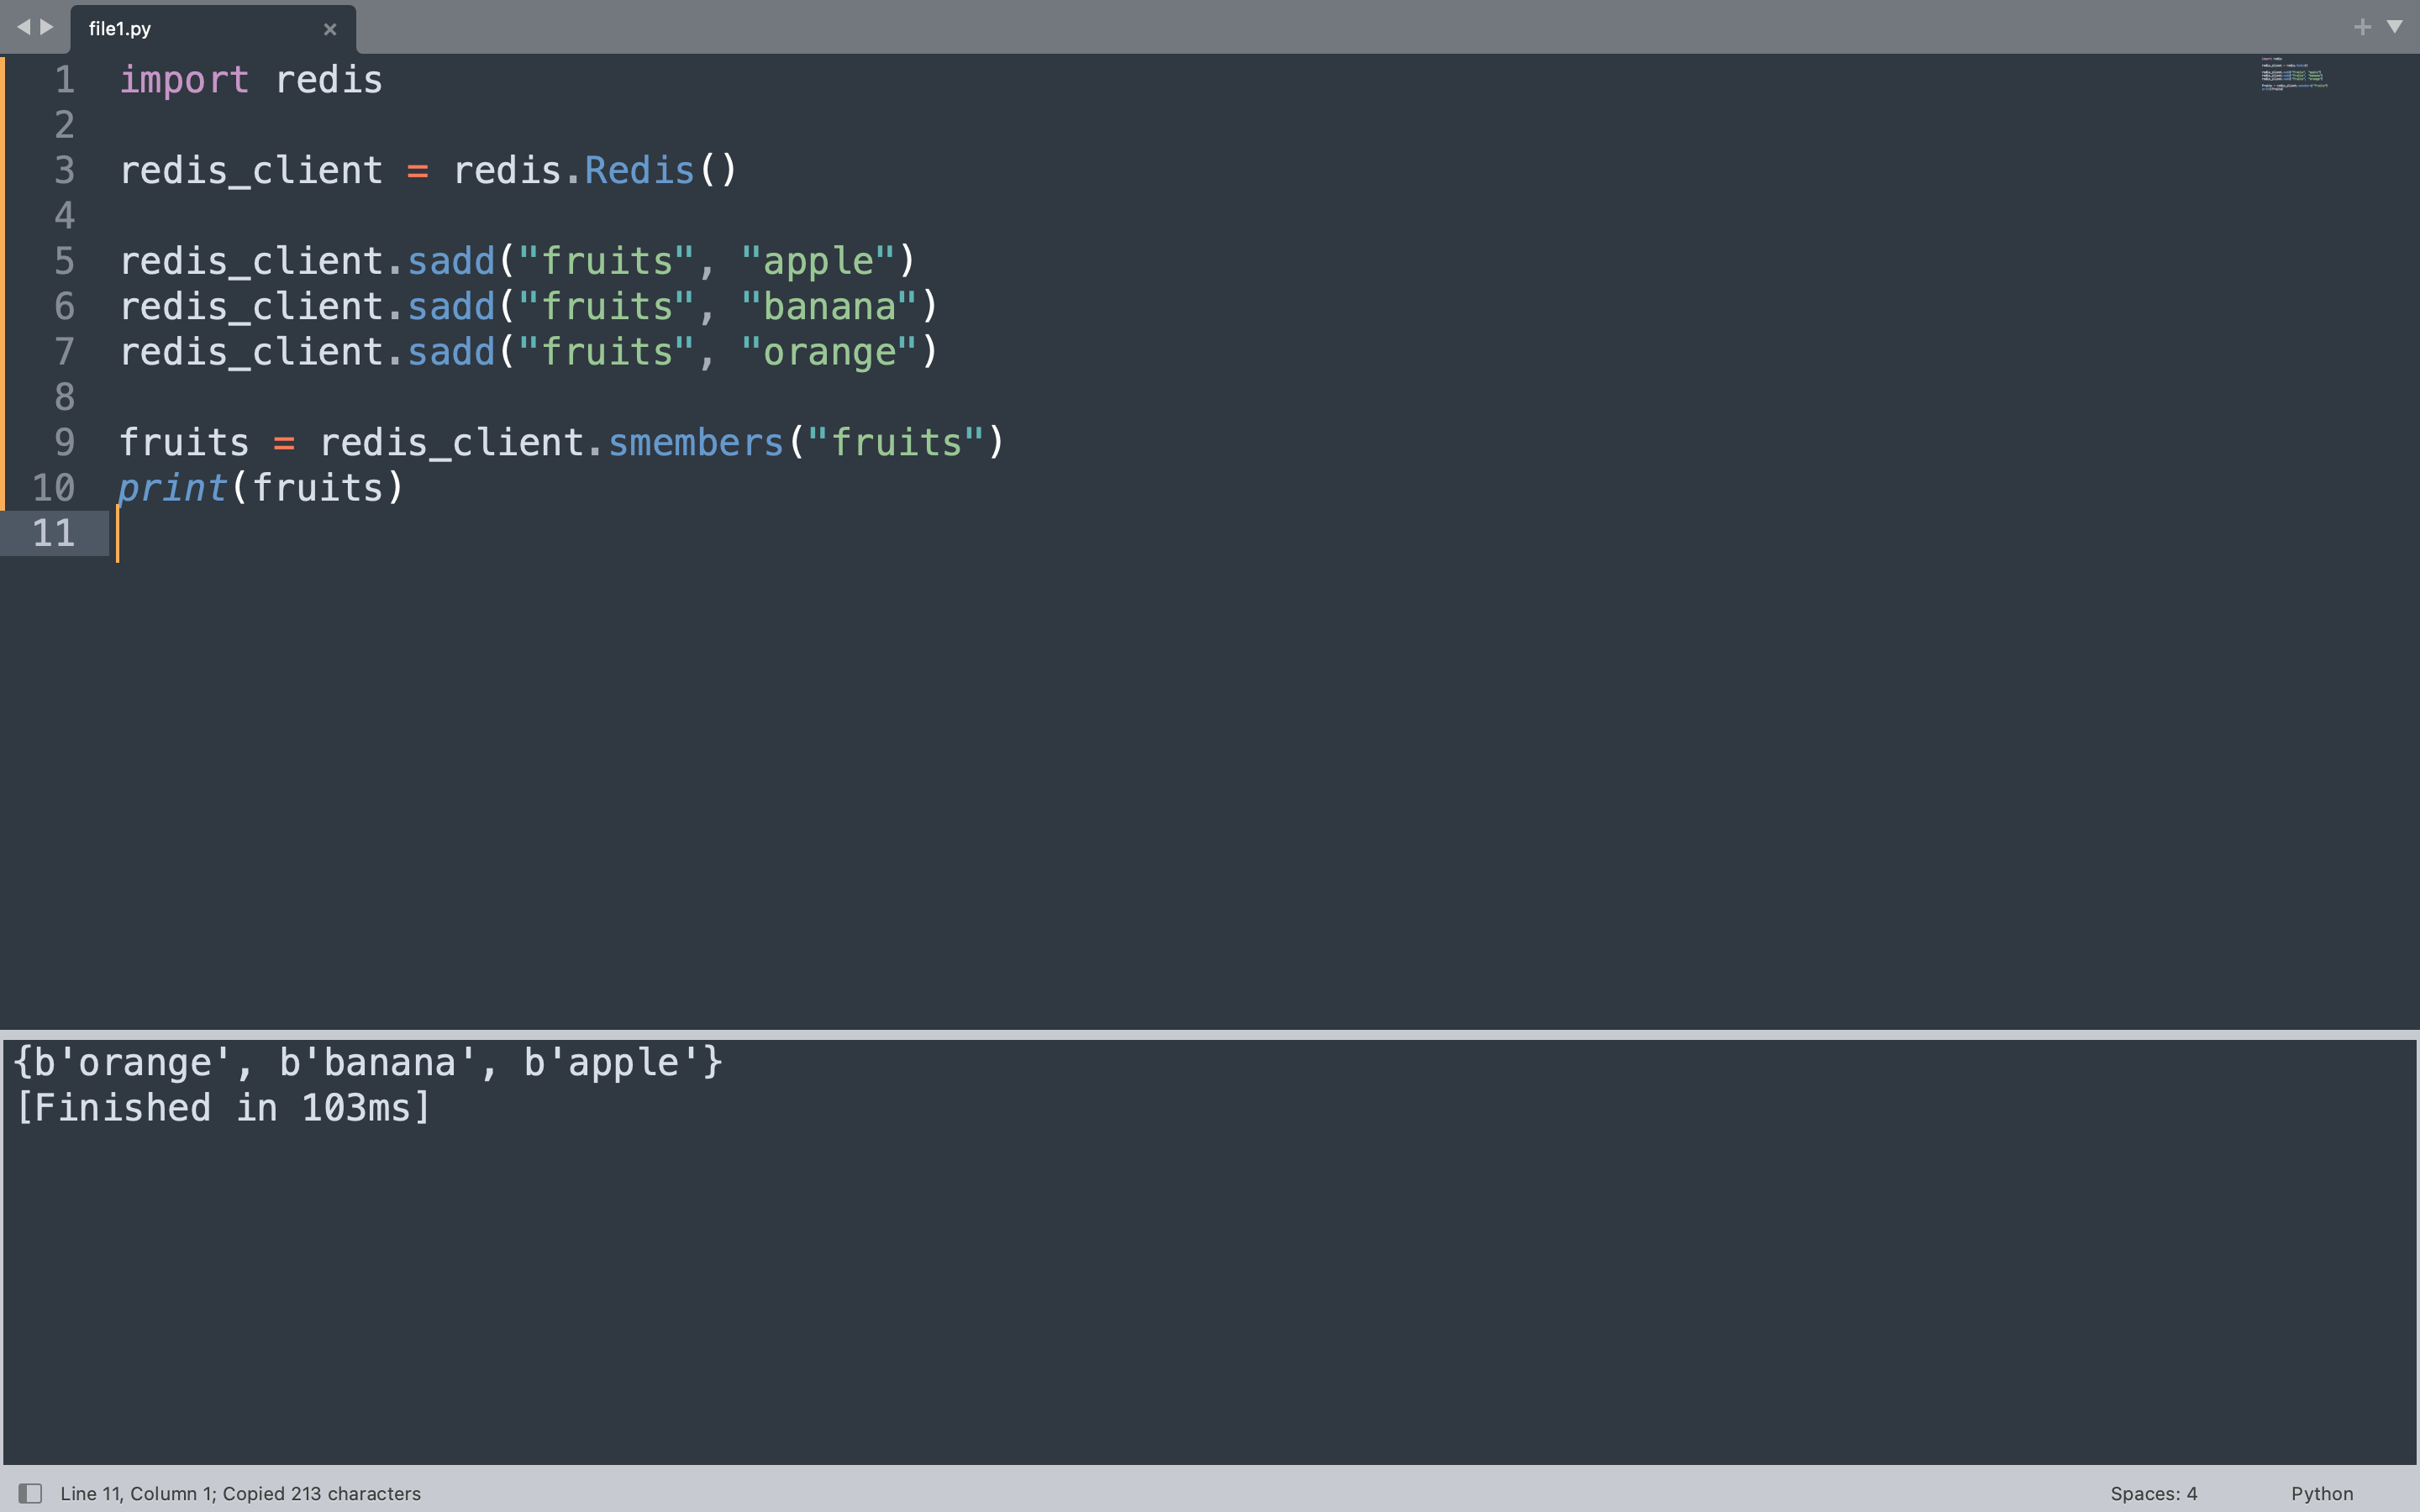
The code below adds three fruit names to a set called “fruits” and then retrieves all members using smembers.
import redis

redis_client = redis.Redis(host="localhost", port=6379, db=0, decode_responses=False)

redis_client.delete("fruits")

redis_client.sadd("fruits", "apple")
redis_client.sadd("fruits", "banana")
redis_client.sadd("fruits", "orange")

fruits = redis_client.smembers("fruits")
print(fruits)
The sadd method adds each fruit to the set. Redis sets are unordered, so the output reflects the internal storage order rather than insertion order. Attempting to add “apple” again would not create a duplicate entry.
{b'orange', b'banana', b'apple'}
Sorted Sets
A sorted set is like a set but each element has an associated score that determines its order. Elements are sorted by their score, making sorted sets ideal for leaderboards where you need to rank players by score or store time-series data ordered by timestamps.
The example below tracks high scores for three players. The zadd method adds each player with their score, and zrevrange with WITHSCORES returns them ordered from highest to lowest.
import redis

redis_client = redis.Redis(host="localhost", port=6379, db=0, decode_responses=False)

redis_client.delete("leaderboard")

redis_client.zadd("leaderboard", {"Alice": 1500, "Bob": 2300, "Charlie": 980})

top_players = redis_client.zrevrange("leaderboard", 0, -1, withscores=True)
print(top_players)
Scores determine the ordering, so Bob with 2300 appears first, followed by Alice with 1500, then Charlie with 980. The zrevrange call with 0 to -1 returns all entries from highest to lowest score.
[(b'Bob', 2300.0), (b'Alice', 1500.0), (b'Charlie', 980.0)]
Hashes
A Redis hash is a mapping between string fields and string values, similar to a Python dictionary. Hashes are the natural choice for representing objects like user profiles, configuration settings, or any structured record that groups related attributes together.
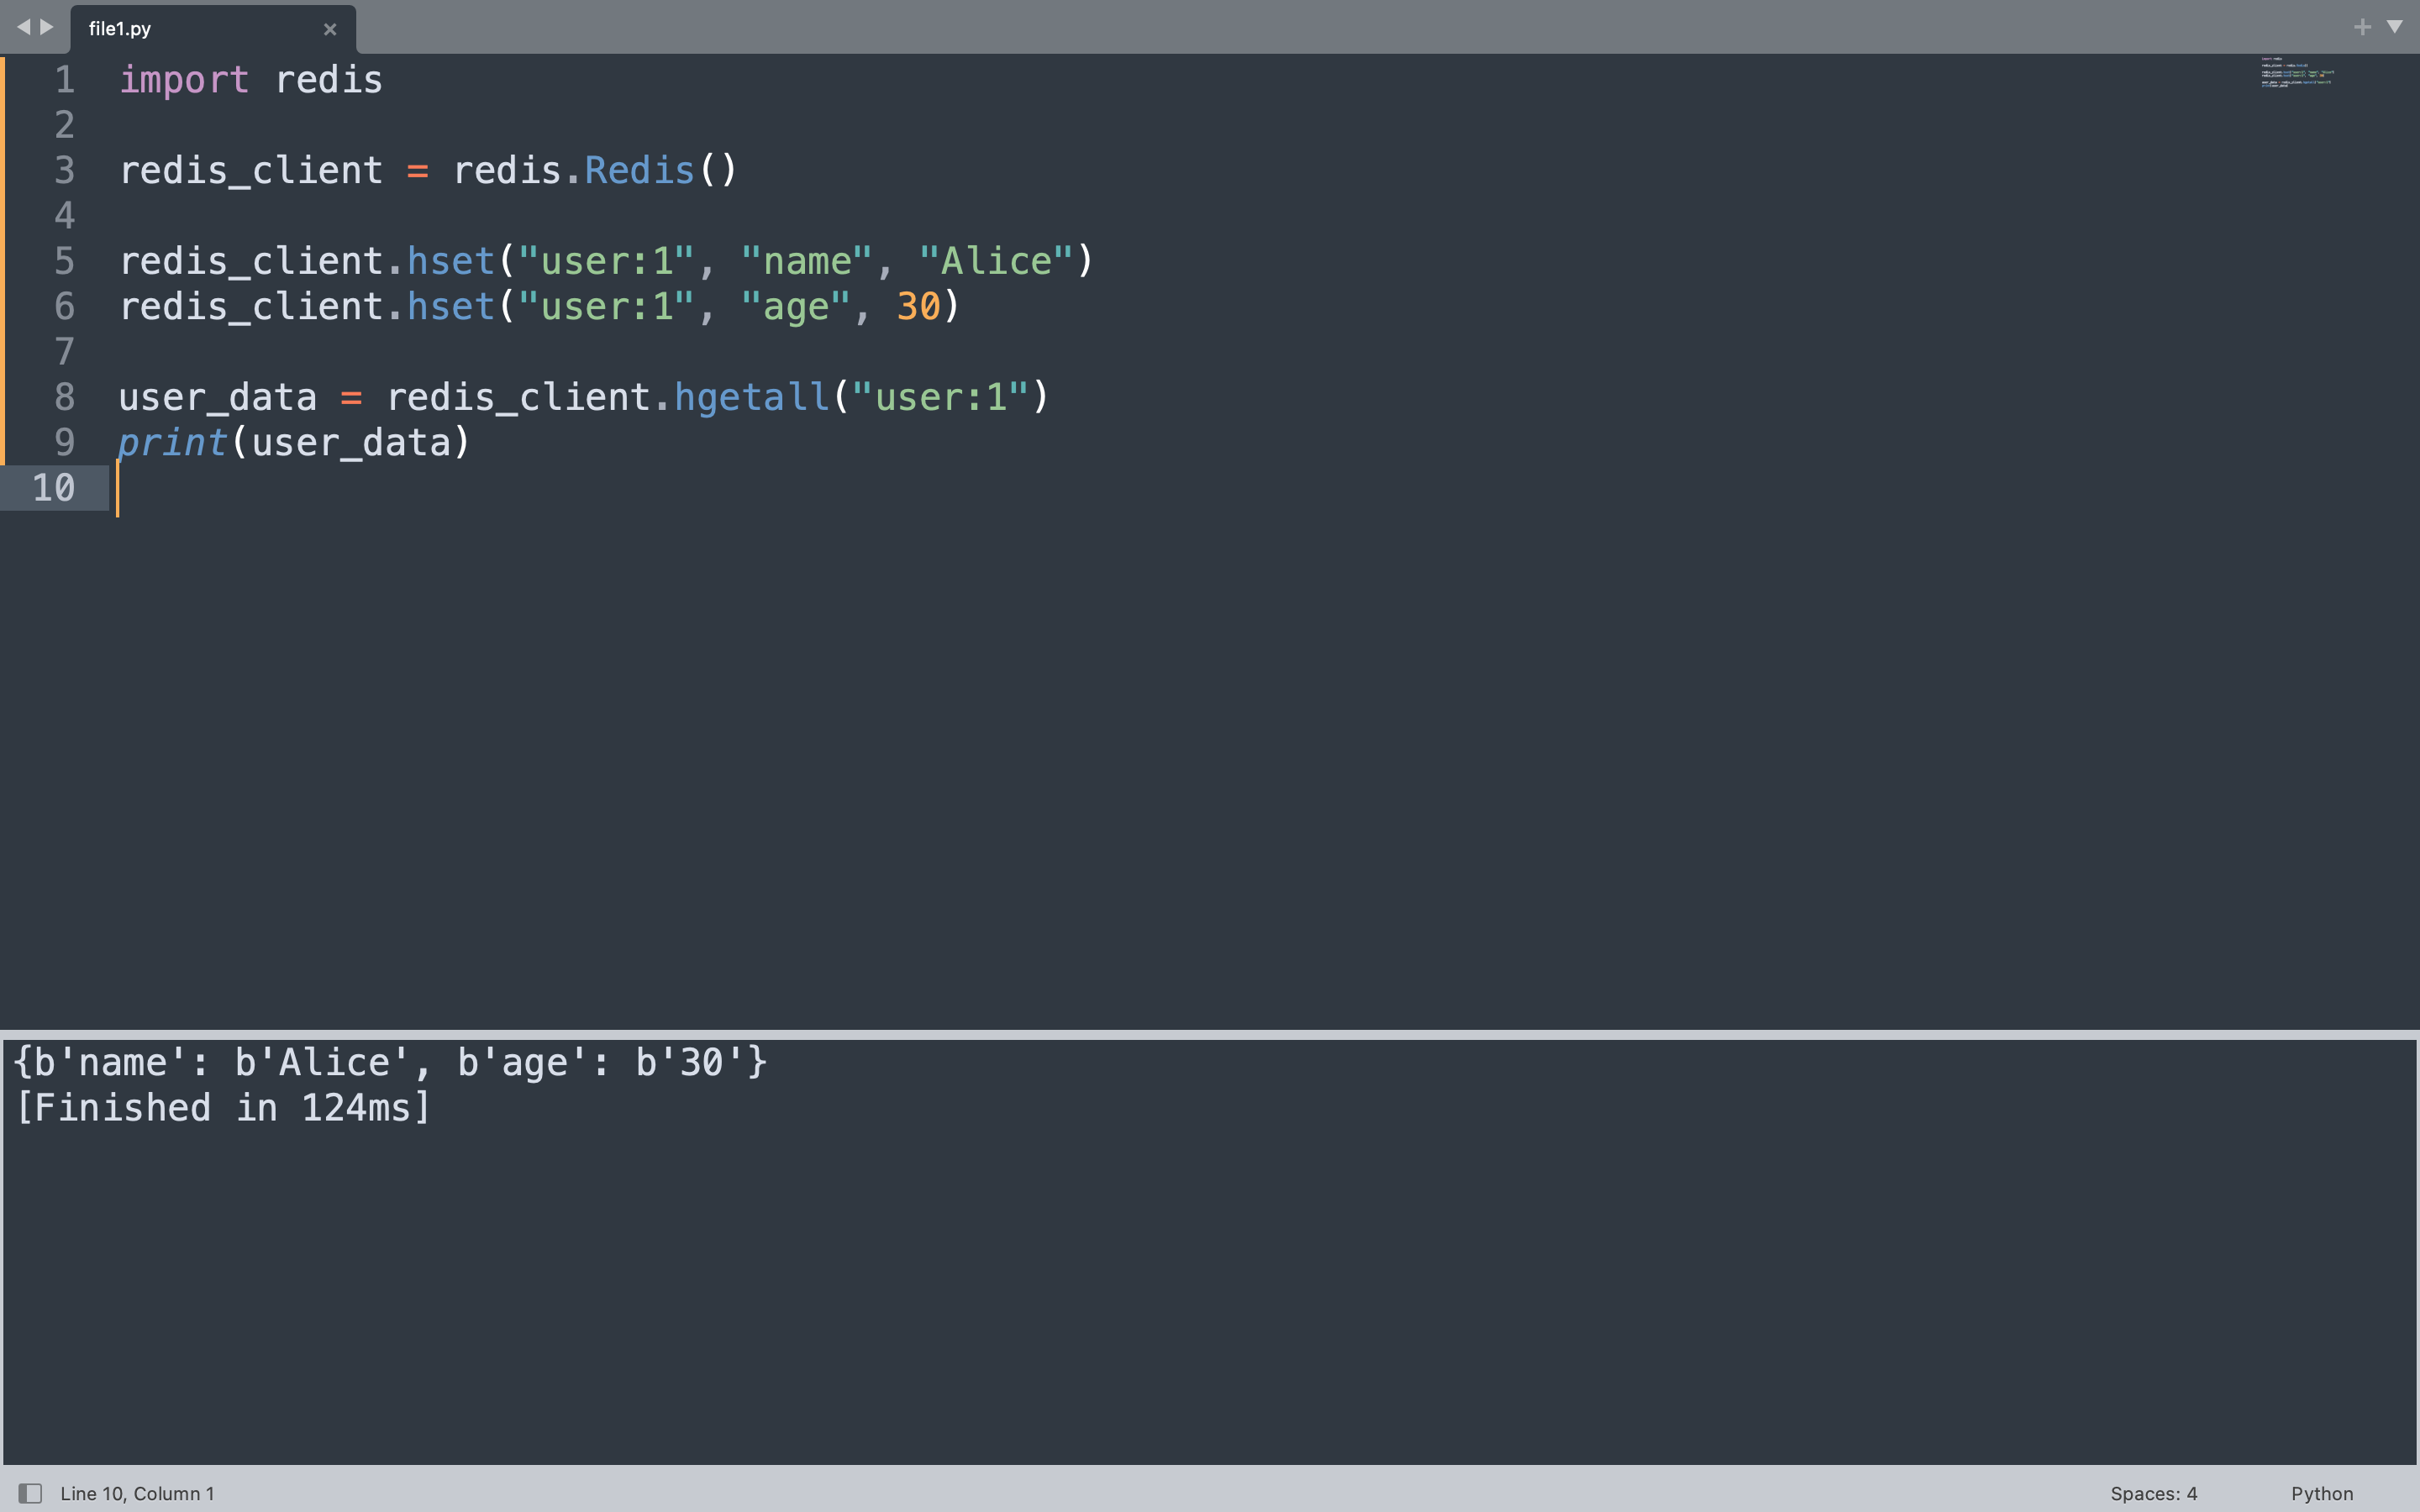
The code below stores a user profile under the key “user:1” with fields for name and age, then retrieves the entire hash at once using hgetall.
import redis

redis_client = redis.Redis(host="localhost", port=6379, db=0, decode_responses=False)

redis_client.delete("user:1")

redis_client.hset("user:1", "name", "Alice")
redis_client.hset("user:1", "age", 30)

user_data = redis_client.hgetall("user:1")
print(user_data)
Each hset call writes a single field within the hash. The hgetall method returns all field-value pairs as a Python dictionary-like object, making it straightforward to work with the data in Python.
{b'name': b'Alice', b'age': b'30'}
Keys, CRUD Operations, Transactions, and Caching
Every piece of data in Redis lives under a key. Keys are binary-safe strings, which means you can use anything from simple names like “username” to composite identifiers like “session:a1b2c3d4”. The code below demonstrates the four core CRUD operations alongside transactions and caching patterns that form the foundation of most Redis-powered applications. For handling errors that arise from Redis operations, the guide on handling ValueError in Python covers patterns that apply broadly to type-related exceptions.
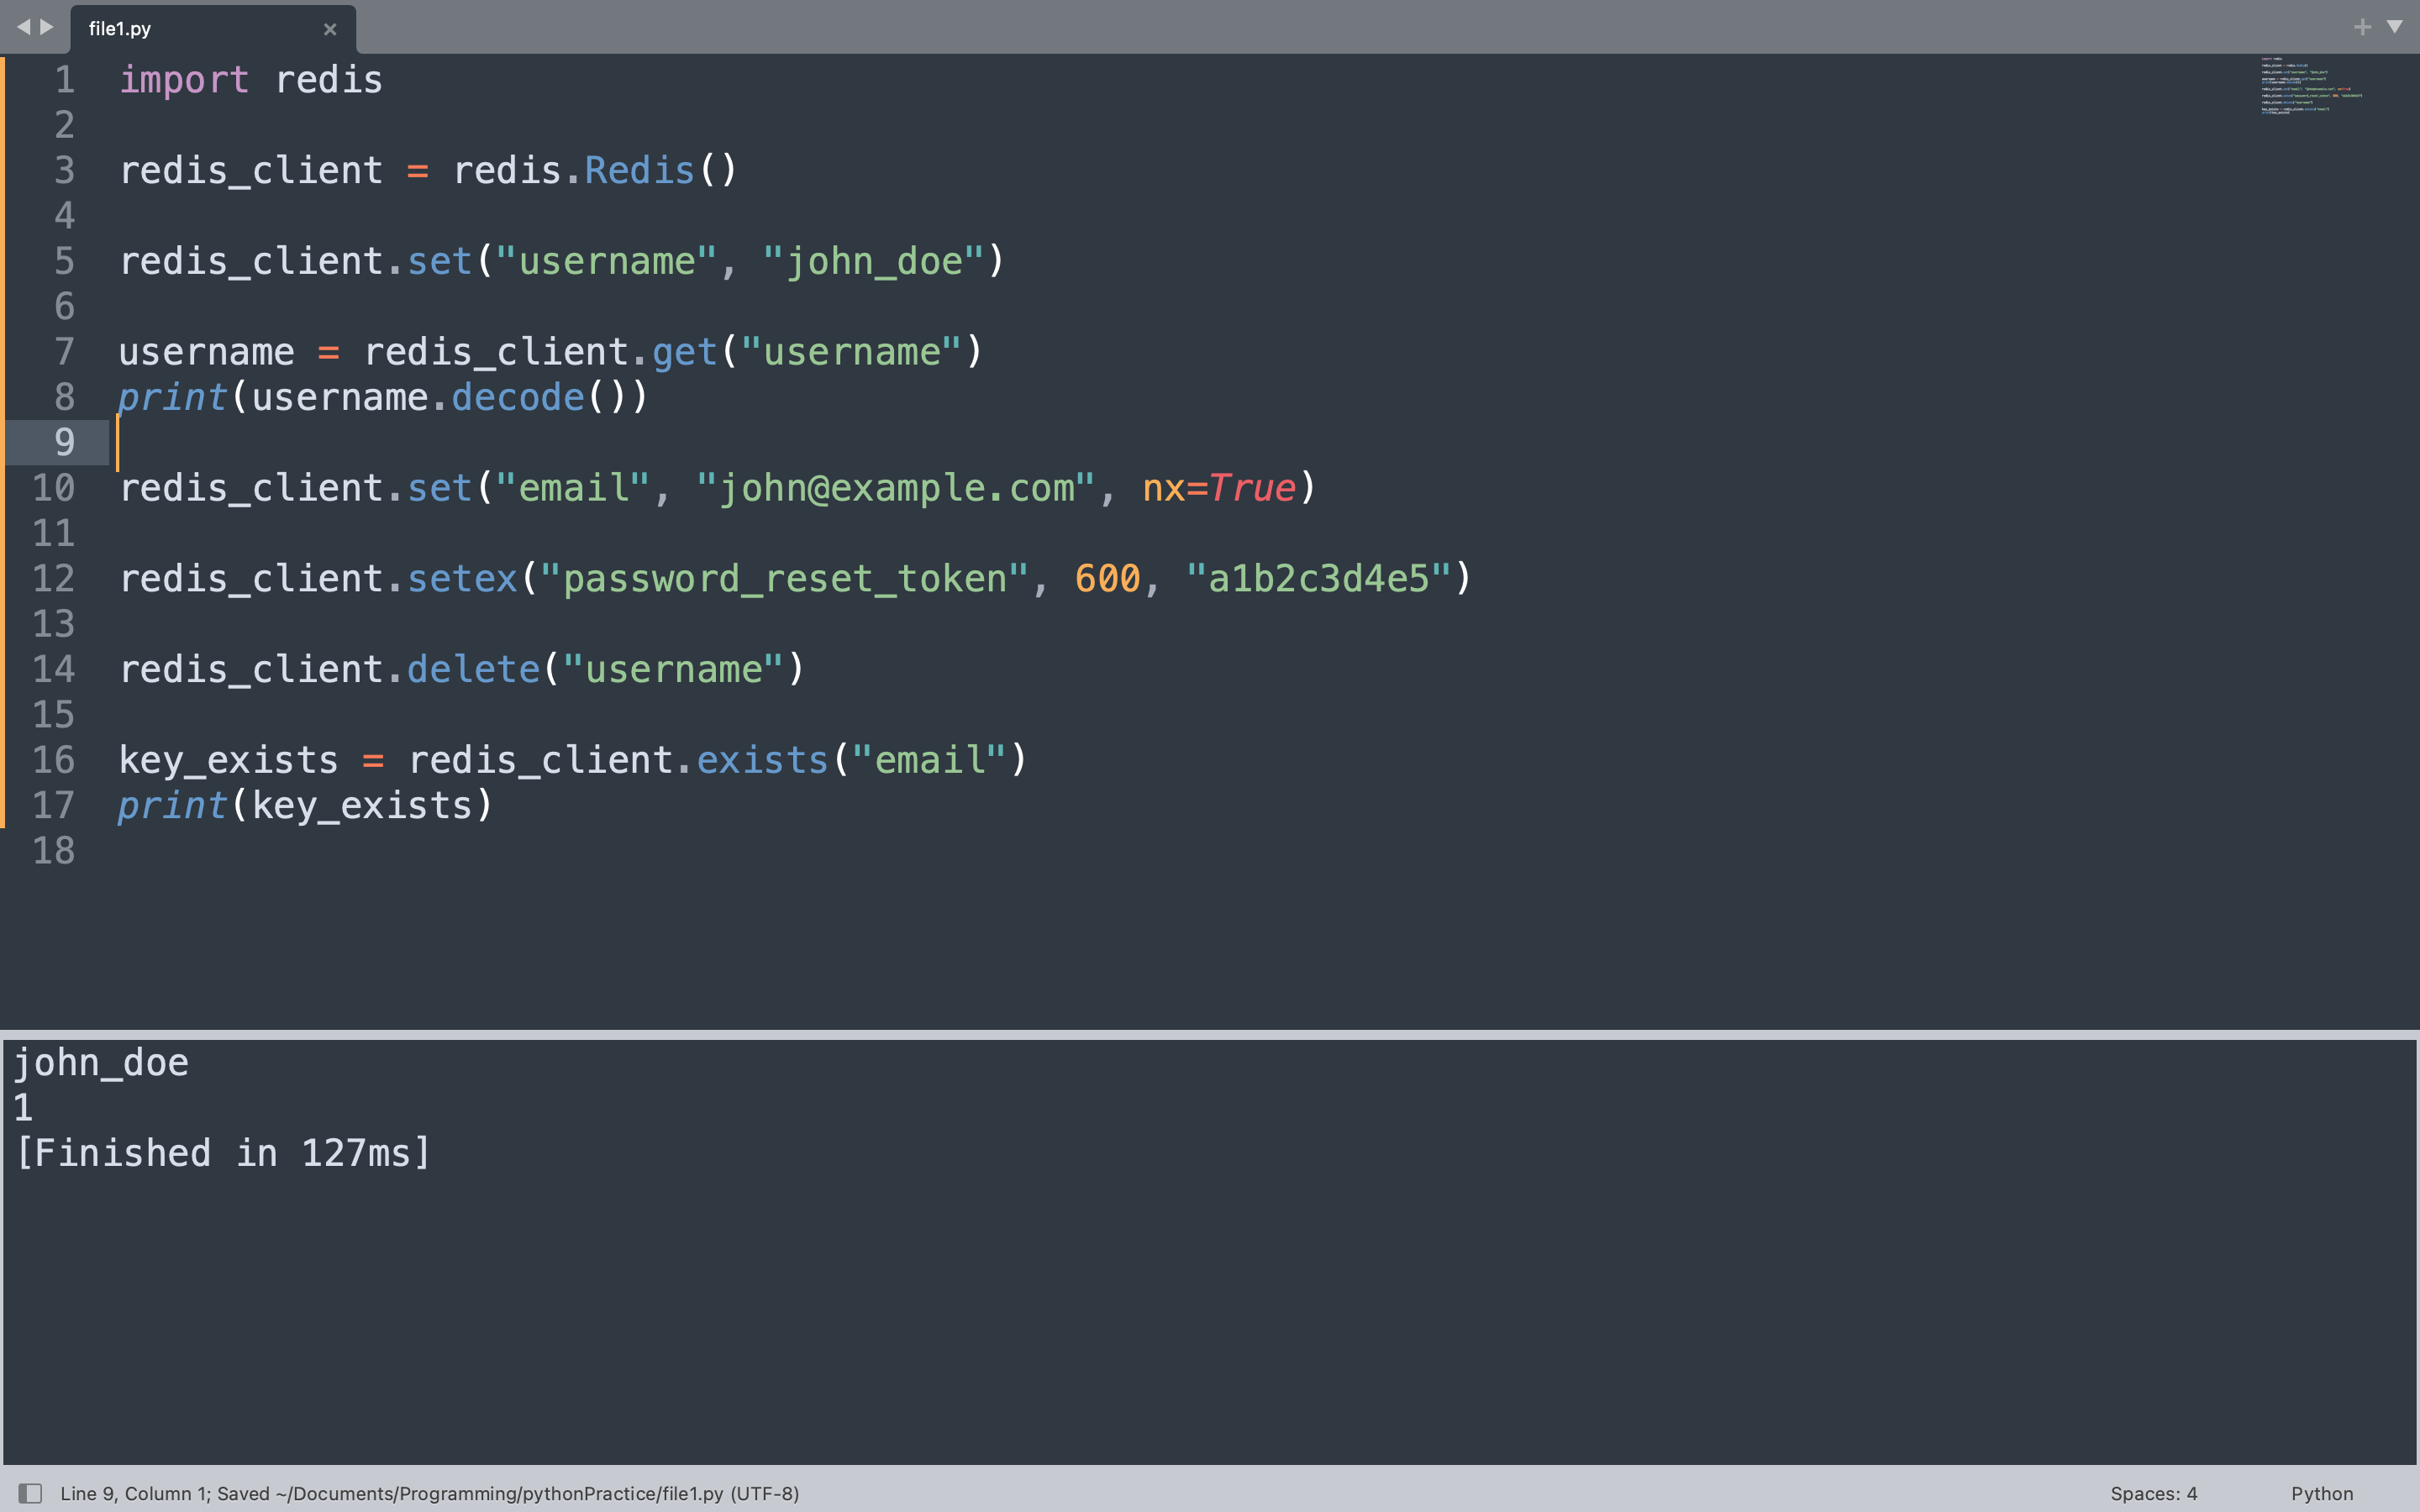
CRUD operations begin by creating a key with set, reading it with get, updating it conditionally with set using the nx flag, and deleting it with delete. Setting a key with an expiration uses setex to automatically remove it after a set number of seconds.
import redis

redis_client = redis.Redis(host="localhost", port=6379, db=0, decode_responses=False)

redis_client.delete("username", "email", "password_reset_token")

redis_client.set("username", "john_doe")

username = redis_client.get("username")
print(username.decode())

redis_client.set("email", "[email protected]", nx=True)

redis_client.setex("password_reset_token", 600, "a1b2c3d4e5")

redis_client.delete("username")

key_exists = redis_client.exists("email")
print(key_exists)
Setting “username” to “john_doe” creates the key. Reading it back returns the bytes value, which is decoded to print the plain string. The set call with nx=True only succeeds if the key does not already exist, which is useful for preventing accidental overwrites. The setex call stores a value with a 600-second expiration, after which Redis automatically deletes the key. The delete call removes the “username” key entirely, and exists checks whether “email” is still present.
john_doe
1
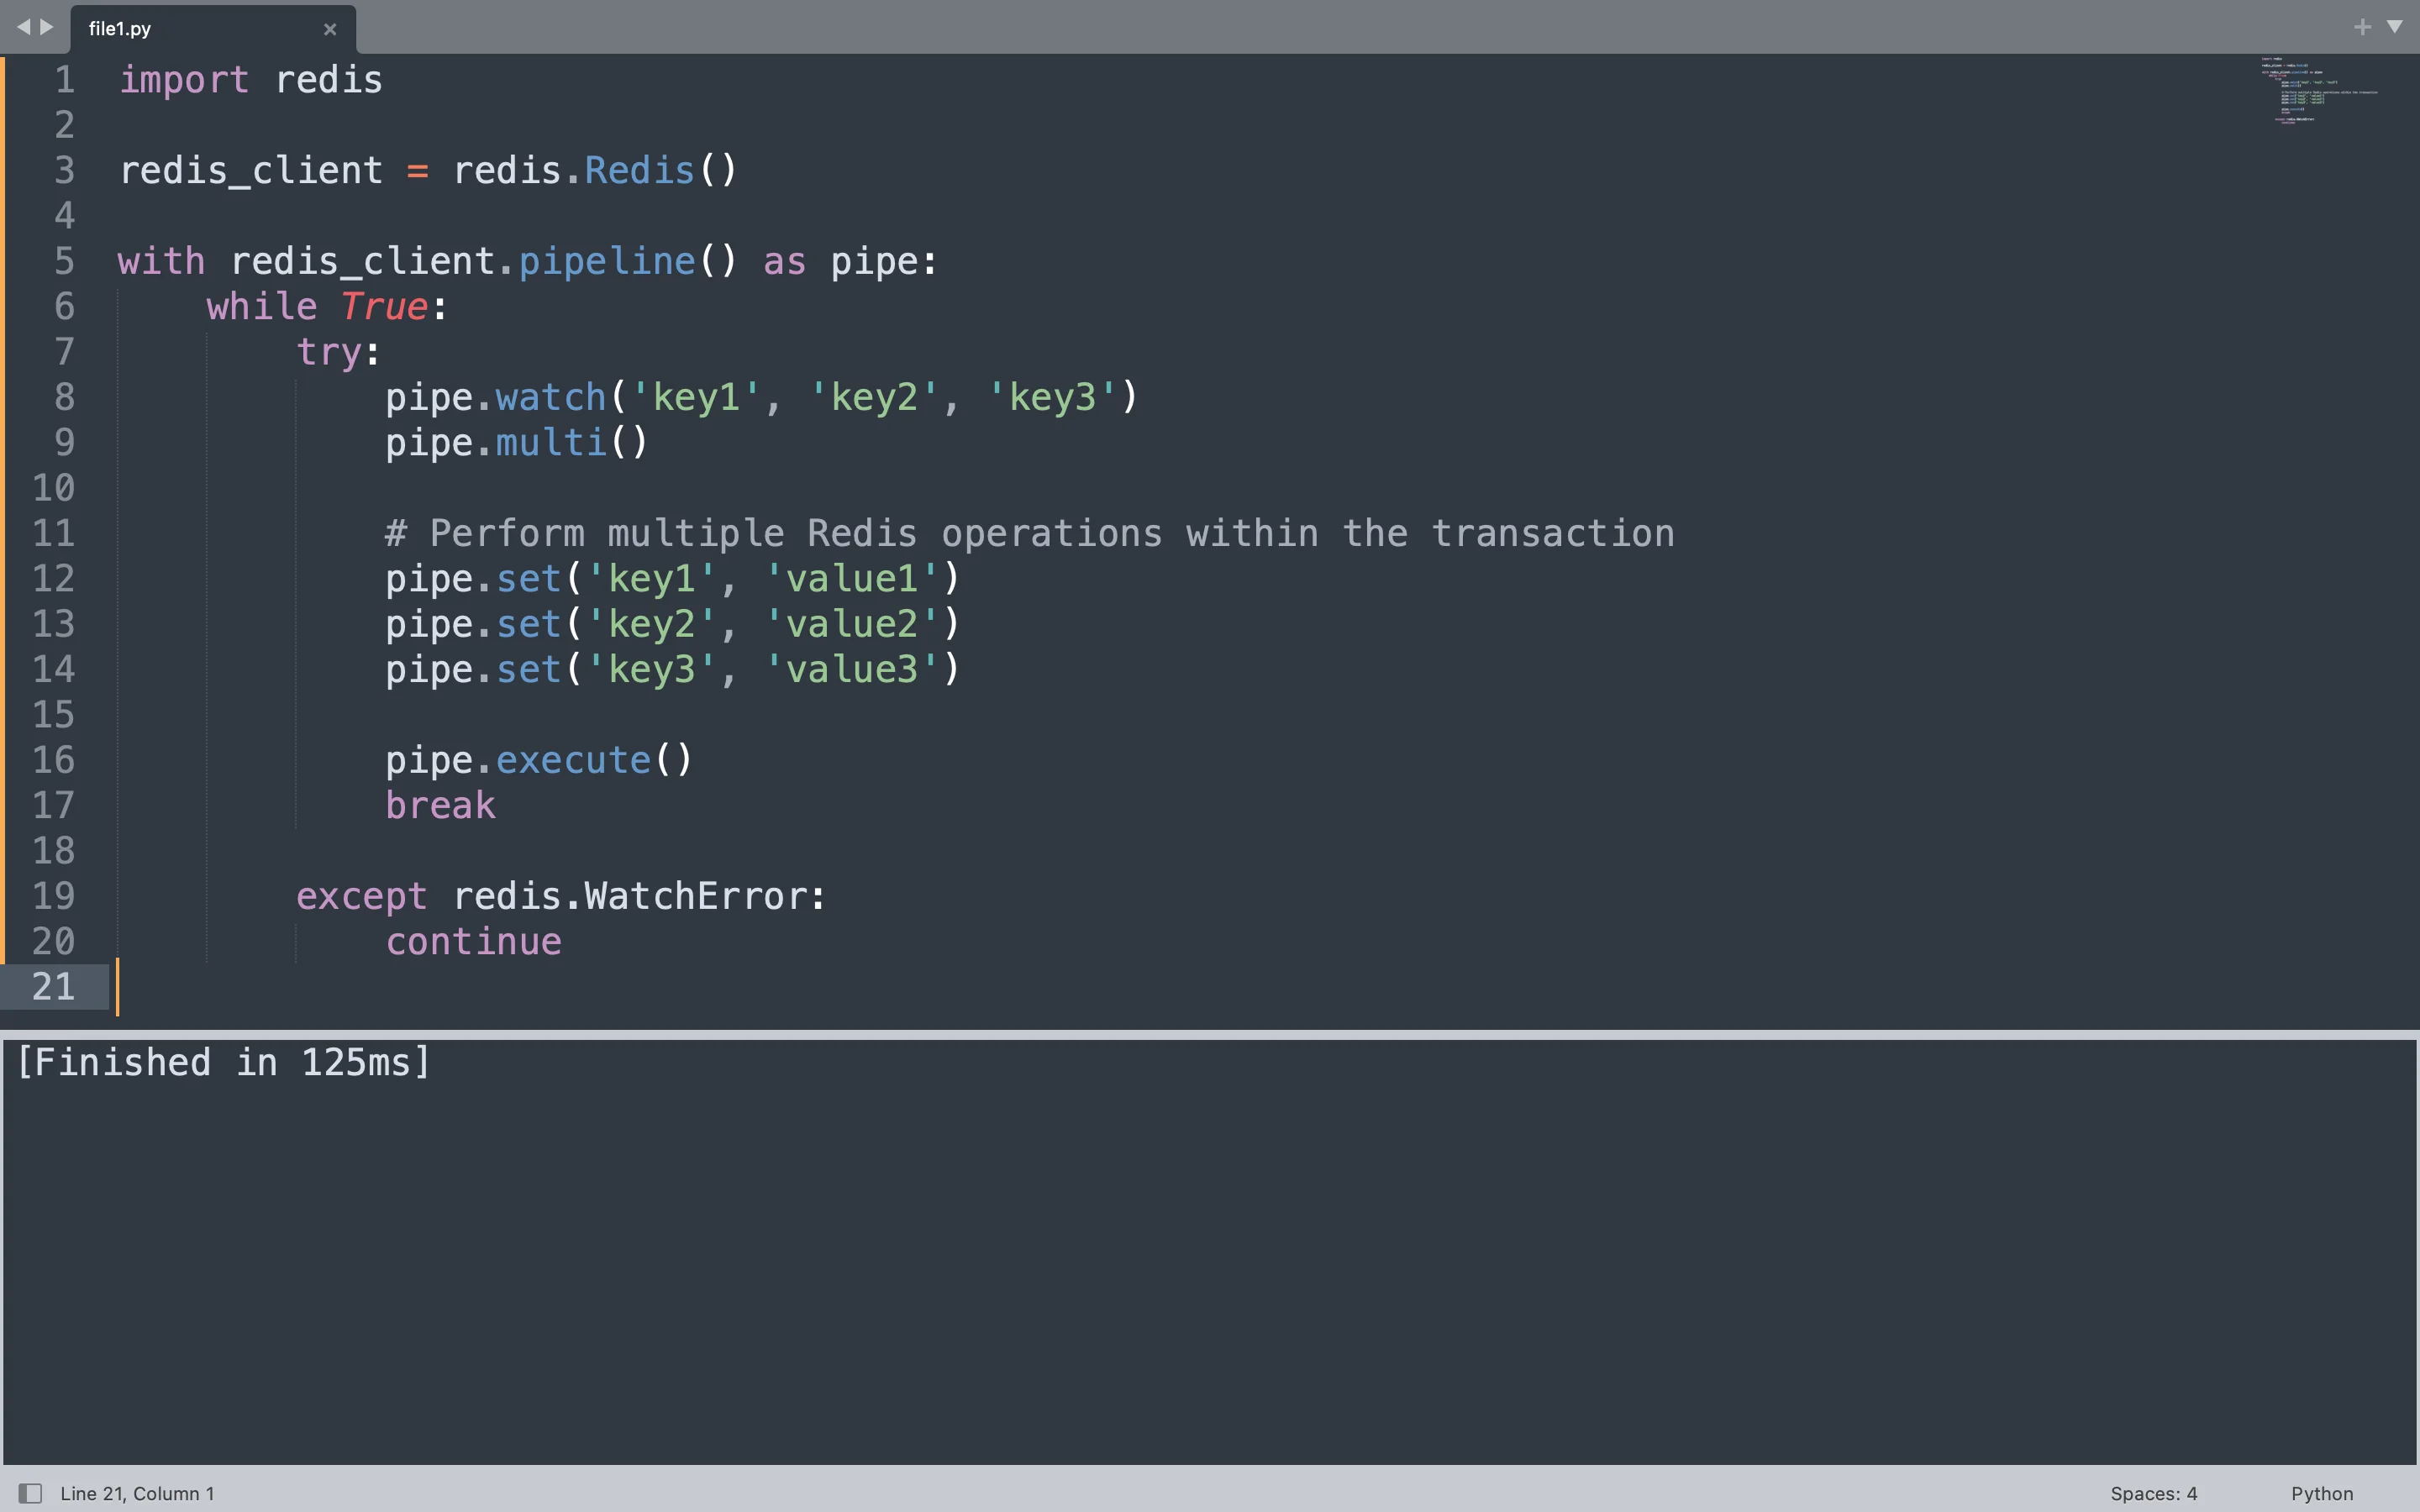
Redis transactions bundle multiple commands so they execute atomically using the pipeline method in redis-py. The code below uses a pipeline to execute three set operations atomically. The watch calls monitor three keys for changes from other clients. If any watched key changes during the transaction, Redis aborts the entire operation and raises a WatchError, prompting the loop to retry.
import redis

redis_client = redis.Redis(host="localhost", port=6379, db=0, decode_responses=False)

with redis_client.pipeline() as pipe:
    while True:
        try:
            pipe.watch("key1", "key2", "key3")
            pipe.multi()

            pipe.set("key1", "value1")
            pipe.set("key2", "value2")
            pipe.set("key3", "value3")

            pipe.execute()
            print("Transaction committed")
            break

        except redis.WatchError:
            print("Retrying transaction")
            continue
The pipeline context manager handles the connection cleanly. Inside the loop, watch registers interest in the three keys. The multi call marks the start of the transaction, and the three set calls queue commands. Execute sends the entire batch to Redis atomically. If another client modifies any of the watched keys before the execute call, Redis rejects the transaction and the loop retries.
Transaction committed
Caching is the most common use case for Redis in web applications. The pattern checks Redis before querying an expensive data source like a database or external API. If the result exists, it returns immediately. If not, the source is queried, the result is stored in Redis with a TTL, and then returned.
The example below simulates a cache lookup for a user profile. The get_user_profile function first checks Redis. If the profile is not cached, it generates the data, stores it with a 300-second TTL, and returns it. Subsequent calls within five minutes retrieve the cached version directly from Redis.
import redis

redis_client = redis.Redis(host="localhost", port=6379, db=0, decode_responses=False)

CACHE_TTL = 300

def get_user_profile(user_id):
    cache_key = f"profile:{user_id}"
    cached = redis_client.get(cache_key)
    if cached:
        print("Returned from cache")
        return cached.decode()

    print("Fetched from source")
    profile_data = f"Profile data for user {user_id}"
    redis_client.setex(cache_key, CACHE_TTL, profile_data)
    return profile_data

print(get_user_profile(42))
print(get_user_profile(42))
The first call to get_user_profile(42) does not find anything in Redis, so it prints “Fetched from source”, stores the result with a five-minute TTL, and returns the profile string. The second call finds the cached value, prints “Returned from cache”, and returns the same string without hitting the original data source.
Fetched from source
Profile data for user 42
Returned from cache
Profile data for user 42
Real-World Use Cases
Redis appears in production systems across many industries. Session storage is one of the oldest and most reliable use cases, with companies storing user login sessions, JWT tokens, and shopping cart data in Redis for sub-millisecond lookups.
Rate limiting uses Redis counters with TTL to throttle API usage per IP address or user account. A simple pattern stores a counter with a one-second expiration and increments it on every request, rejecting requests that exceed a threshold within that window.
Leaderboards and ranking systems leverage sorted sets to maintain ordered lists by score. Game studios and competitive platforms use this pattern to display top players without querying a relational database.
Pub/sub messaging connects microservices and real-time features like chat notifications and live updates. Redis channels allow many subscribers to receive messages published to a topic, making it lightweight compared to full message brokers.
Job queues use Redis lists to distribute tasks across worker processes. The LPUSH and BRPOP commands form a classic producer-consumer pattern where tasks are enqueued by one process and dequeued by workers waiting for new items.
FAQ
Q: Is Redis a database or a cache?
Redis functions as both. It operates as an in-memory data store with optional persistence, which makes it suitable as a primary database for specific workloads and as a caching layer in front of slower databases.
Q: What happens to data when Redis restarts?
By default, Redis loads all data into memory from disk on startup if persistence is configured with RDB snapshots or AOF logs. Without persistence enabled, all data is lost on restart since it lives only in RAM.
Q: Can Redis handle millions of keys?
Yes. Redis handles millions of keys efficiently on a single node. For larger workloads, Redis Cluster distributes keys across multiple nodes automatically.
Q: What is the difference between redis-py and a Redis connection pool?
redis-py creates connections internally and manages a pool of connections automatically when creating a Redis client. For high-concurrency applications, configuring a connection pool manually allows better control over the number of simultaneous connections.
Q: How does Redis handle concurrent access from multiple Python processes?
Redis is single-threaded at the command level, which eliminates race conditions internally. Multiple Python processes can connect simultaneously, and Redis serializes commands automatically, ensuring consistent state across all clients.
Redis has become a foundational piece of infrastructure for Python developers who need speed and simplicity. The redis-py client makes every Redis command accessible directly from Python, and the patterns covered here apply broadly across caching, sessions, queues, and real-time features.


