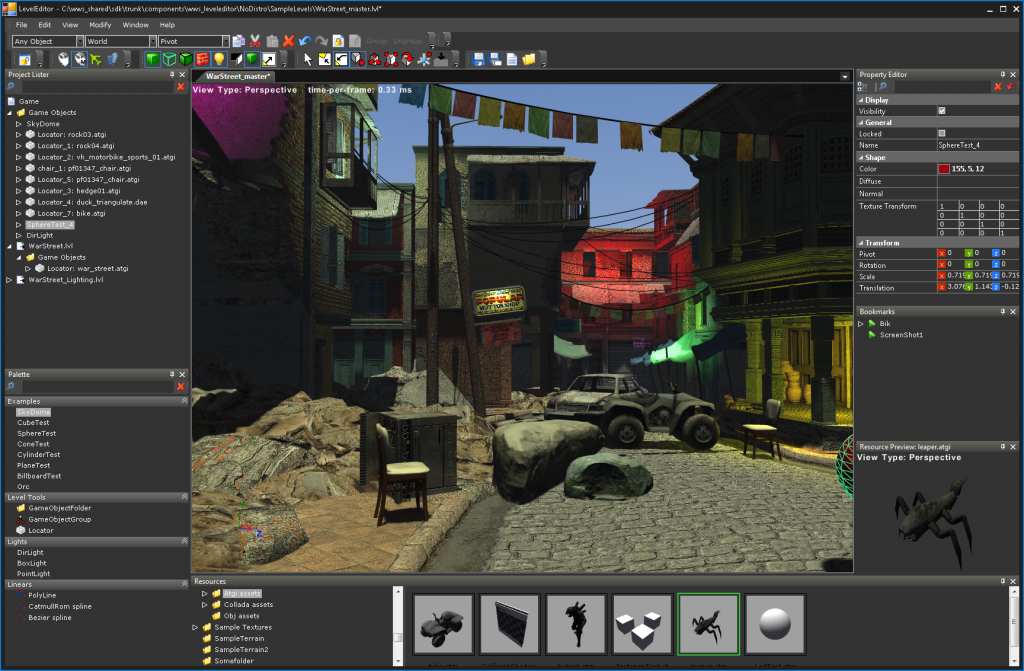
Hey Folks! In the next few series of tutorials, we will be learning about how to create a level editor using pygame from very scratch! You’ll need a basic understanding of Python and Pygame to follow through with this tutorial. So if you are doing it for the first time, I’d suggest you start with Python Pygame Introduction.
Let’s first understand what level editors are.
Also read: PyGame Tutorial: Graphical Hi-Lo Game in Python
What is a Level Editor?
A level editor is a program/window that allows game developers to design environments for a digital game by making use of various assets in order to design multiple levels of a game.

This also includes all the challenges the characters have to face and the actions they must take to conquer them and proceed to victory!
Implementing a level editor in Python
As always, we start off by importing modules, and here we will initialize the pygame window using the init function.
import pygame

pygame.init()
1. Create the level editor window
Next, we have to create the window for the level editor. For that, we will be setting a few parameters such as height, width, and margins.
For now, we will keep the width and height as 800 and 640 respectively and the lower and side margins as 100 and 300 respectively. You can change the dimensions according to your preferences.
The margins here are going to be used for the following functions:
- Lower Margin : The
STARTandLOADoptions - Side Margin: Show the
BLOCKSavailable to place on the screen
Next, we will be creating the screen with the help of the set_mode function which will take the height and width of the screen. Along with this we will be setting up the title of the window with the help of the set_caption function.
Now we want our screen to stay until the top corner X button is clicked. So for that, we will be creating a while loop that will keep on running until the running variable remains True.
In order to capture the event when the X is clicked, we will be using the event.get function which will take consideration of all the events happening on the screen.
Now each event in pygame has a name defined to it. The event of pressing X is of type QUIT and hence we make the running variable False if the event type is QUIT.
import pygame
pygame.init()

screen_width = 800
screen_height = 640

lower_margin = 100
side_margin = 300

screen = pygame.display.set_mode((screen_width+side_margin,screen_height+lower_margin))
pygame.display.set_caption('Level Editor')

running = True
while(running):

    for event in pygame.event.get():
        if(event.type==pygame.QUIT):
            running = False

pygame.quit()

The output right now is a blank screen which is now ready to have some background image and additional features to be put on it.
Let’s get to loading the images in our program!
2. Loading images in the app
The images are loaded with the help of the load function and need the path of the images which depends on the location of the image in your system.
The loading happens before the running loop as shown between the line 13 to 16.
import pygame
pygame.init()

screen_width = 800
screen_height = 640

lower_margin = 100
side_margin = 300

screen = pygame.display.set_mode((screen_width+side_margin,screen_height+lower_margin))
pygame.display.set_caption('Level Editor')

grass1 = pygame.image.load('Images/Background_Images/grass1.png').convert_alpha()
grass2 = pygame.image.load('Images/Background_Images/grass2.png').convert_alpha()
mountain = pygame.image.load('Images/Background_Images/mountain.png').convert_alpha()
sky = pygame.image.load('Images/Background_Images/sky.png').convert_alpha()

running = True
while(running):

    for event in pygame.event.get():
        if(event.type==pygame.QUIT):
            running = False

pygame.quit()
3. Paint images to the background
Now next we need to paint the images into the background for which we will be creating a new function as shown in the code mentioned below starting from line 18.
In order to paint an image, we make use of the blit function and it is necessary to update the view in each iteration of the running while loop.
We will also be needing the coordinates of the images, I have set them according to my screen dimensions. You can play around with the positioning at your end!
import pygame
pygame.init()

screen_width = 800
screen_height = 640

lower_margin = 100
side_margin = 300

screen = pygame.display.set_mode((screen_width+side_margin,screen_height+lower_margin))
pygame.display.set_caption('Level Editor')

tree1 = pygame.image.load('Images/Background_Images/grass1.png').convert_alpha()
tree2 = pygame.image.load('Images/Background_Images/grass2.png').convert_alpha()
mountain = pygame.image.load('Images/Background_Images/mountain.png').convert_alpha()
sky = pygame.image.load('Images/Background_Images/sky.png').convert_alpha()

def paint_bg():
    screen.blit(sky,(0,0))
    screen.blit(mountain,(0,screen_height-mountain.get_height()-300))
    screen.blit(tree1,(0,screen_height-tree1.get_height()-150))
    screen.blit(tree2,(0,screen_height-tree2.get_height()))

running = True
while(running):

    paint_bg()

    for event in pygame.event.get():
        if(event.type==pygame.QUIT):
            running = False

    pygame.display.update()

pygame.quit()

Conclusion
By end of this part, we are now clear with what level editor is and how to create a basic setup for our level editor. In the next part, we will be learning how to add some more elements to the screen.
Stay tuned for more parts! Happy Learning! 😇


