🚀 Supercharge your YouTube channel's growth with AI.
Try YTGrowAI FreeDjango MySQL – How to Set up Django to use a Database?

In this article, we will learn how we can learn to use Django MySQL in combination with our web framework.
Why MySQL over SQLite?
As compared to the default SQLite, MySQL is more secured and is highly advanced, too. It can even handle a good amount of data and hence can be used at scale. And if we talk about speed, MySQL works more efficiently and effectively.
Structured Query Language
SQL allows us to access and manipulate databases. Using this we can perform various tasks like
- Adding records to databases
- Creating tables
- Perform CRUD (Create, Read, Update, Delete) operations
SQL is a language that is used by the database systems. To apply and set-up databases, we need one of the RDBMS like MySQL, PostgreSQL, Oracle, etc.
Suggested: SQL tutorial on Journaldev
Using Django MySQL in our Django Development
With the basics out, let’s get to understanding how you can begin with Django MySQL development now.
Suggested: Django REST API tutorial
1. The Demo MySQL Database
The below is a demo table we’ll use within our demonstration here.
| Id | Name | City | Country |
|---|---|---|---|
| 1 | Ron | NY | USA |
| 2 | Drake | LA | USA |
| 3 | Richard | Bavaria | Germany |
| 4 | Noel | Vegas | USA |
| 5 | Jones | Munich | Germany |
| 6 | Kane | NY | USA |
Here there are 4 fields and 6 records.
Basic SQL Statements:
- SELECT FROM – This statement SELECTs fields(all or a few) FROM a table.
- WHERE – This is condition statement generally used with other statements. Using these records satisfying the condition set by this statement is selected.
- UPDATE – This statement updates a table
- EDIT – This statement edits a field of record/records
- DELETE – This statement deletes a field of record/records
2. Install XAMPP on your Server
Now to use MySQL, we will have to use a software tool to handle the administration of MySQL over the web.
There are many tools out there; in this article, we will use phpMyAdmin because of its very simple and efficient work environment.
Xampp software provides us the PHPMyAdmin web interface. So to use phpMyAdmin, we will download Xampp first.
Click here to download XAMPP. Download the right version for your operating system and architecture.

3. Start Apache and MySQL
Once you follow the steps to install XAMPP and then start the following two processes:
- Apache Webserver – to serve HTTP requests
- MySQL Server – for the database

Do note the default port for MySQL is 3306. After that in the browser, go to https://localhost. You will see the host webpage.
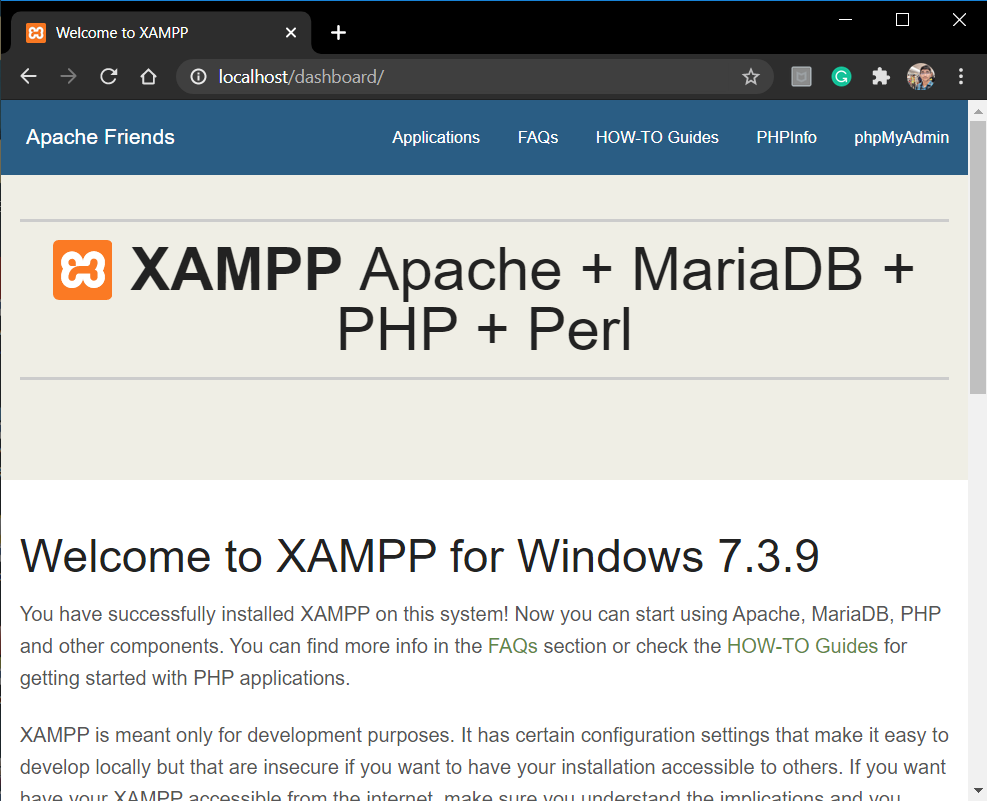
Then click on phpMyAdmin on the top right, you will land on the phpMyAdmin web interface.

Now,
- Create a new Database by clicking new in the left column.
- Give a suitable name to that Database. I have kept Django as the name.

4. Install MySQL Client Package for Python
Mysqlclient is the Python interface for MySQL Database systems. To connect Django or any other python usable interface with MySQL we need Mysqlclient.
We’ll use the pip command to install the mysqlclient package:
pip install mysqlclient
Now once the connector driver is installed, we need to change database information in the settings.py
5. Set Up Database Settings in Django settings.py
In settings.py, we need to set up the database connection details including the table, database engine, user credentials, host and port as shown below:
DATABASES = {
    'default': {
        'ENGINE': 'django.db.backends.mysql',
        'NAME': <Database_name>,
        'USER':'root',
        'PASSWORD':'',
        'HOST':'localhost',
        'PORT': '3306',
    }
}
Here:
- Engine: django.db.backends.mysql – Since we’re using Django MySQL here.
- Name: Enter the name of the database here.
- User: Default user for the Xampp software is “root”
- Password: The default password for root is empty.
- Host: Host will be just the localhost
- Port: This is the MySQL port that we noted earlier(3306)

6. Implement Django MySQL
Now we have to begin working with the MySQL database in Django. Let’s set up our servers.
python manage.py makemigrations
python manage.py migrate
That’s it, the changes have been saved. You can now run the server and check. Once the migrations are done, you will see that all the migrations are added into the Django database in PHPMyAdmin site

Now we will run the Django Application server.
python manage.py runserver
Now, if you try to go to the admin site, Django will show an error message regarding the superuser. This is because the details of the superuser, the entries in the Model Table, were all in the earlier DB SQLite and not in MySQL.
So we need to create a superuser again in the terminal and then add items back into the Table
python manage.py createsuperuser
And that’s it , we have successfully connected MySQL DB with Django
Adding items into the DB
We can do this via two ways: Through Admin site or Through PHPMyAdmin site.
1) CRUD operations through admin site
This is same old method that we were using till now. We can add, edit or delete items from the ItemModel through the admin site.
Since we changed the DB, all the items in the Table will be lost. Hence add a few items using the admin site itself.

All the above information will automatically get added into the MySQL DB.
Go to the phpMyAdmin site and select ItemModel in the Django DB. You will observe all the items in the Table in there as well.

2) CRUD Operations through phpMyAdmin site
In the above phpMyAdmin site, there are options to add, edit, and delete items.
To edit/ delete: besides item information, there are options to edit, delete. Hence using them we can edit and delete from the phpMyAdmin site.
To add item: On the top, you will observe an INSERT option. Go there and add the item information.

Enter the information and then click go. That’s it !! Pencil item has been added.
You can view it in the Browse option as well as in the admin site as well.

Reload the admin site, you will observe the new item there as well

See how easy it is to use MySQL with Django.
Conclusion
That’s it, fellas!! This is all about MySQL and how you connect it with Django. As a practice, do try making a web app using MySQL as a database.
We will see about PostgreSQL in the next article and how we can use that with Django. Till then you can know more about MySQL from the official website.
Stay safe !! keep learning !!


