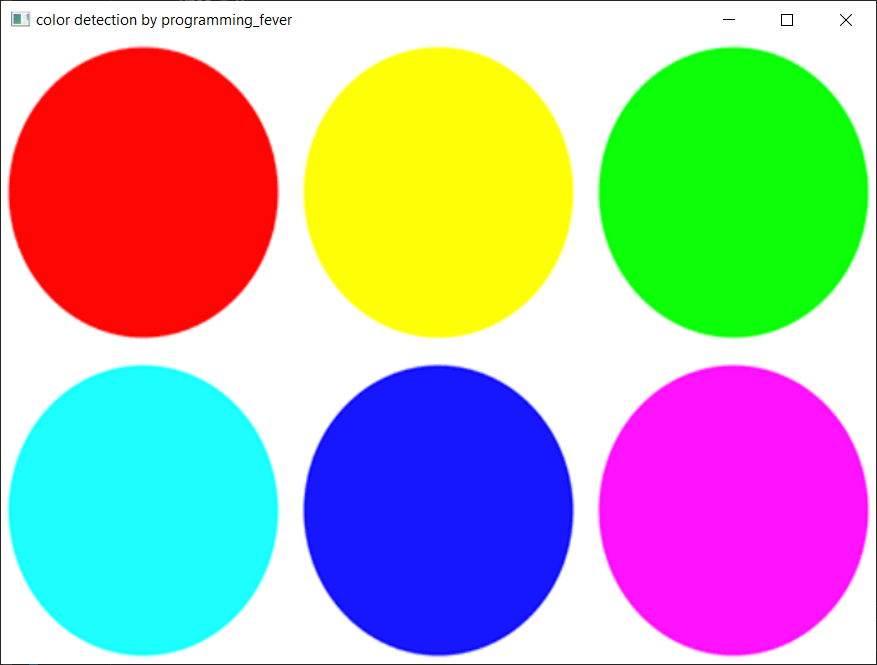
In this tutorial, we will learn how to detect various colors in an image using Python and the OpenCV library. This beginner’s reference will cover the process of color detection, working with datasets, importing OpenCV, creating a window and callback function, extracting color names from RGB values, and displaying results on a window. By the end of this tutorial, you will have a basic understanding of color detection using Python and OpenCV
Introduction to Color Detection
The process of detecting the name of any color in an image is known as color detection. This is an exceedingly simple task for humans, but it is not that simple for computers. The eyes and brains of humans work together to convert light into color. The signal is transmitted to the brain via light receptors in our eyes. The color is then recognized by our brain.
In this Python color detection tutorial, we’ll create an application that allows you to get the name of color by simply clicking on it. As a result, we’ll need a data file with the color name and values. Then we’ll compute the distance between each color and choose the one with the smallest distance.
Understanding the Color Dataset
Red, green, and blue are the three primary colors that make up any color available. Each color value in a computer is defined as a number between 0 and 255. A color can be represented in around 16.5 million different ways. We need to translate the values of each color to their names using our dataset. We’ll be working with a dataset that contains RGB values along with their names.
Importing OpenCV
The first step is to import all the required modules along with OpenCV, and then load the image but make sure the image is inside the same folder as the code file.
import cv2
import numpy as np
import pandas as pd

img = cv2.imread("sample.jpg")
Loading the Color Data from the colors.csv File
We make use of the pandas library to do operations on data files like CSV. And pd.read_csv() function is used to load and read the CSV file. We also assign each column with a name in the index list for making access easier.
index = ["color", "color_name", "hex", "R", "G", "B"]
data = pd.read_csv("colors.csv", names=index, header=None)
Setting up the Interactive Window and Callback Function
First, we have to create a fresh window in which the input image will display. Then, we provide a callback function that will be activated only when a mouse event happens across the image.
cv2.namedWindow("Color Detection Window")
cv2.setMouseCallback("Color Detection Window",call_back_function)
But now we have to create a callback function mentioned by the name of call_back_function.
Implementing the Callback Function
Let’s understand what this callback function will do: It will calculate the rgb values of the pixel which we double click and the (x,y) coordinates of the mouse position are saved.
def call_back_function (event, x,y,flags,param):
  if event == cv2.EVENT_LBUTTONDBLCLK:
        global b,g,r,xpos,ypos, clicked
        clicked = True
        xpos = x
        ypos = y
        b,g,r = img[y,x]
        b = int(b)
        g = int(g)
        r = int(r)
Converting RGB Values to Color Names
Now that we have extracted the rgb values from the image, now we need to change the rgb values to the color name. The same is done in the function below.
def get_Color_Name(R,G,B):
    minimum = 10000
    for i in range(len(csv)):
        d = abs(R- int(csv.loc[i,"R"])) + abs(G-           int(csv.loc[i,"G"]))+ abs(B- int(csv.loc[i,"B"]))
        if(d<=minimum):
            minimum = d
            cname = csv.loc[i,"color_name"]
    return cname
To get the color name, we calculate a distance(d) which tells us how close we are to a specific color and choose the one which results in the minimum distance. The distance is calculated using the following formula:
d = abs(Red — ithRedColor) + (Green — ithGreenColor) + (Blue — ithBlueColor)
Displaying Results in the Interactive Window
We make use of the cv2.imshow() function to draw the image on the window we created earlier. When the user double clicks on the window, a rectangle is drawn on the image which gets the color name on the window using cv2.rectangle and cv2.putText() functions respectively.
while(1):
  cv2.imshow("Color Detection Window",img)
  if (clicked):
    cv2.rectangle(img,(20,20), (750,60), (b,g,r), -1)
    text = getColorName(r,g,b)+'R='+str(r)+'G='+ str(g)+'B='+ str(b)
    cv2.putText(img, text,(50,50),2,0.8, (255,255,255),2,cv2.LINE_AA)
    if(r+g+b>=600):
       cv2.putText(img, text,(50,50),2,0.8,(0,0,0),2,cv2.LINE_AA)
    clicked=False
    if cv2.waitKey(20) & 0xFF ==27:
      break
cv2.destroyAllWindows()
Sample Outputs


Output on Another Image

Conclusion
I hope you now understand color detection in images using Python OpenCV. With the steps mentioned above, you will now be able to create an application that lets users identify colors by clicking on an image. We have also demonstrated the use of an RGB color value dataset for this case.
Did this tutorial inspire you to explore other applications of color detection in computer vision projects?


