🚀 Supercharge your YouTube channel's growth with AI.
Try YTGrowAI FreeFlask MySQL – Setting up a Flask and MySQL Database Connection

In this article, we will learn how to set up a Flask MySQL database connection. So let’s get started!!
Structured Query Language
SQL allows us to access and manipulate databases. In SQL, we can perform various tasks such as:
- Adding records to databases
- Creating tables
- Perform CRUD (Create, Read, Update, Delete) operations
SQL is the query language that the database systems use. To set-up databases, we require RDMS like MySQL, PostgreSQL etc.
Do check out our SQL tutorial on the JournalDev website to gain more knowledge about the query language.
More about MySQL Database Tables
Let us now look at a typical MySQL DB table:
| Id | Name | City | Country |
|---|---|---|---|
| 1 | Jack | LA | USA |
| 2 | Kim | California | USA |
| 3 | Ricky | Chicago | USA |
| 4 | Nathan | Munich | Germany |
| 5 | Jonathan | Bavaria | Germany |
| 6 | Miley | Seattle | USA |
The rows are called records and the columns are called fields.
Therefore, in the above table, we have six records and four fields. To interact with the Table elements, we use SQL statements.
Some of the SQL statements are:
- SELECT FROM – This statement SELECTs fields(all or a few) FROM a table.
- WHERE – This conditional statement is usually used with other statements. Using this, we can select specific records satisfying some given conditions.
- UPDATE – This statement updates a table
- EDIT – This statement edits a field of record/records
- DELETE – This statement deletes a record/records
Setting-up MySQL server for our Application
In this section, we will download and establish our MySQL server
1. Installing XAMPP on your Server
Now to use MySQL, we require a software tool to handle the administration of MySQL over the web.
In this tutorial, we will work with phpMyAdmin. If you are familiar with any other software; You can use that as well.
Xampp software provides the PHPMyAdmin web interface. You can download XAMPP from here.
Or directly go to Google and search for download Xampp. The first link itself will do the job !!
Download the right version for your operating system and architecture.

2. Start Apache and MySQL
Once XAMPP is installed and loaded, start the following two processes:
- Apache Webserver – to serve HTTP requests
- MySQL Server – for the database

Do note the default port for MySQL is 3306. Now in the browser, go to https://localhost.
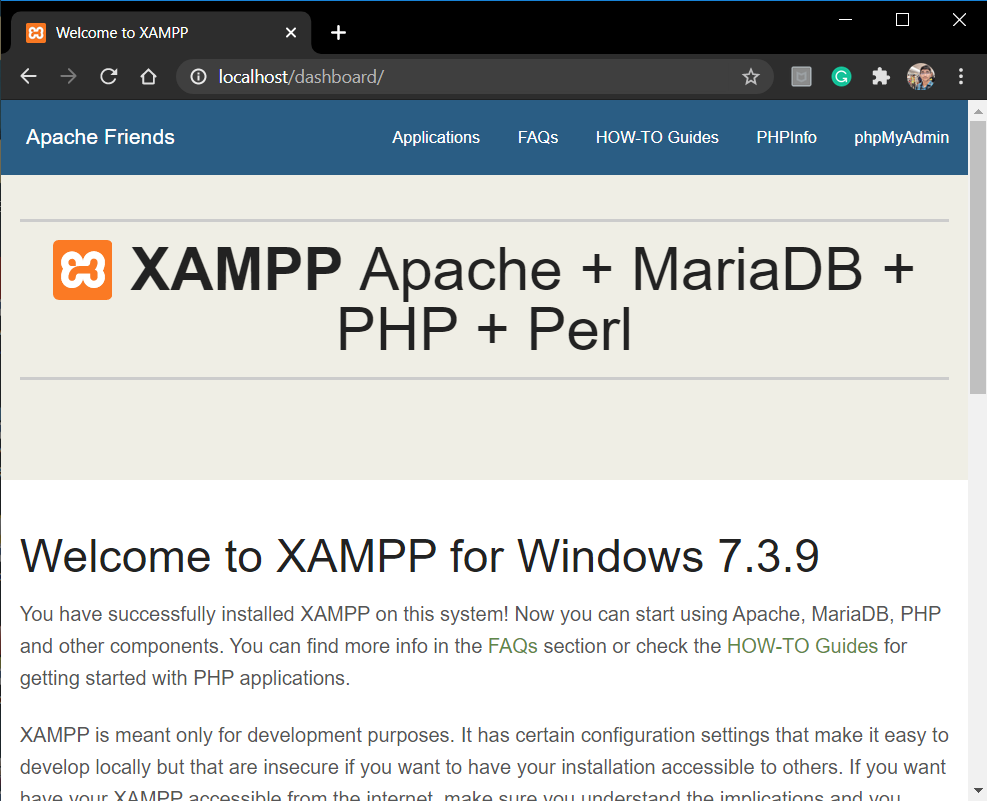
This is the Host webpage for Xampp. Click on phpMyAdmin on the top right, to go to the php web interface.

Here,
- Create a new Database by clicking new in the left column.
- Keep a suitable Name for the DB. In my case, it is simply Flask

Go ahead and create a table in the DB. Enter the table name in the space given as shown in the picture and hit Go.
3. Installing Flask- MySQL library in our system
Flask uses flask_mysqldb connector to use MySQL. Run the following command to install the package:
pip install flask_mysqldb
Perfect !!
Setting up a Flask MySQL Database Connection
Now we will connect and use MySQL to store data into our DB. If you’re not sure how to create a flask application, check out the flask introduction tutorial.
1. Connecting Flask Application with MySQL
The procedure we follow to connect Flask-MySQL is as follows:
from flask import Flask,render_template, request
from flask_mysqldb import MySQL

app = Flask(__name__)

app.config['MYSQL_HOST'] = 'localhost'
app.config['MYSQL_USER'] = 'root'
app.config['MYSQL_PASSWORD'] = ''
app.config['MYSQL_DB'] = 'flask'

mysql = MySQL(app)
2. Setting up MySQL connection cursor
Just with the above set-up, we can’t interact with DB tables. For that, we need something called a cursor.
So Cursor provides a way for Flask to interact with the DB tables. It can scan through the DB data, execute different SQL queries, and as well as Delete table records.
The cursor is used in the following way:
mysql = MySQL(app)

#Creating a connection cursor
cursor = mysql.connection.cursor()

#Executing SQL Statements
cursor.execute(''' CREATE TABLE table_name(field1, field2...) ''')
cursor.execute(''' INSERT INTO table_name VALUES(v1,v2...) ''')
cursor.execute(''' DELETE FROM table_name WHERE condition ''')

#Saving the Actions performed on the DB
mysql.connection.commit()

#Closing the cursor
cursor.close()
Since MySQL is not an auto-commit DB, we need to commit manually, ie, save the changes/actions performed by the cursor execute on the DB .
3. Coding a Flask application
Now we will build a small Flask application that will store data submitted by the user in the MySQL DB Table. Consider the following Application Code:
from flask import Flask,render_template, request
from flask_mysqldb import MySQL

app = Flask(__name__)

app.config['MYSQL_HOST'] = 'localhost'
app.config['MYSQL_USER'] = 'root'
app.config['MYSQL_PASSWORD'] = ''
app.config['MYSQL_DB'] = 'flask'

mysql = MySQL(app)

@app.route('/form')
def form():
    return render_template('form.html')

@app.route('/login', methods = ['POST', 'GET'])
def login():
    if request.method == 'GET':
        return "Login via the login Form"

    if request.method == 'POST':
        name = request.form['name']
        age = request.form['age']
        cursor = mysql.connection.cursor()
        cursor.execute(''' INSERT INTO info_table VALUES(%s,%s)''',(name,age))
        mysql.connection.commit()
        cursor.close()
        return f"Done!!"

app.run(host='localhost', port=5000)
When the user submits the data, it is added into the MySQL DB via the cursor.execute command. My table name is info_table.
The form.html will be:
<form action="/login" method = "POST">
   <p>name <input type = "text" name = "name" /></p>
   <p>age <input type = "integer" name = "age" /></p>
   <p><input type = "submit" value = "Submit" /></p>
</form>
4. Implementing the Code
Now fire up the server and go to “/form” (see Flask forms)

Enter the details and hit Submit

Now let’s check it in the phpMyAdmin web interface

Perfect!!
Conclusion
That’s it, guys!! This was all about setting up Flask MySQL connections. In the next article, we will look into Flask-PostgreSQL.
See you in the next time 🙂


