🚀 Supercharge your YouTube channel's growth with AI.
Try YTGrowAI FreePython Pillow Module – A Brief Introduction

Hello learner! Today in this tutorial we are going to learn about an interesting yet unknown module in Python – the Pillow Module. Let us first understand what the Pillow module is and why is it used?
What is the Pillow Module?
Pillow is built on top of the well-known PIL (Python Image Library) module which is one of the most important modules for image processing. However, the PIL module is not supported in Python3 now.
So Pillow module is basically a substitution of the PIL module but has more functionalities. And it is supported in Python3 as well. One can achieve almost anything on digital images using this module.
Implementation of the Python Pillow Module
Now that we know a little bit about Pillow module. Let’s learn how to implement it.
1. Importing module and Loading Initial Image
The Pillow module is imported exactly like the PIL module and the initial image is loaded with the help of the open function from the Image submodule.
To view an image we simply use the show function on the image variable created earlier while loading the image. The code for the same is mentioned below.
from PIL import Image
im = Image.open("image1.jpg")
im.show()
The output image is displayed in a separate window the results of which are shown below.

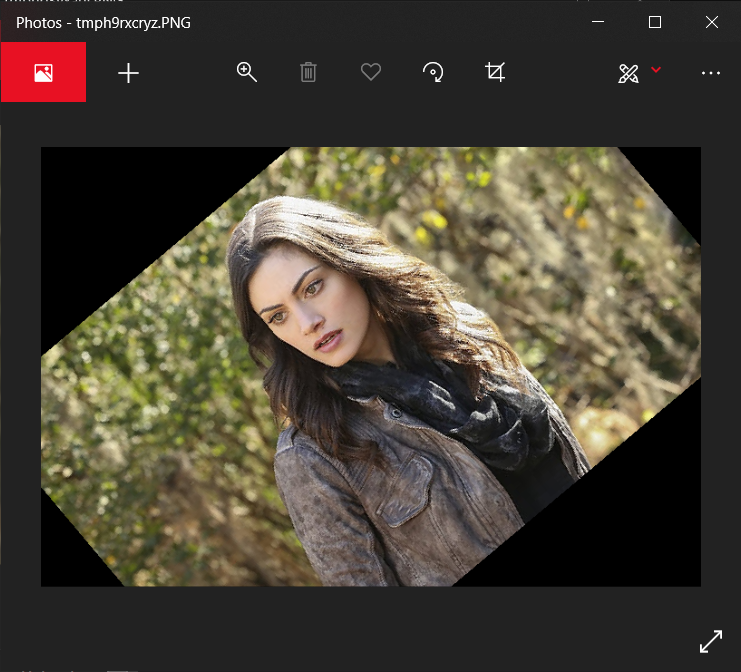
2. Rotating an Image
To rotate an image we simply use the rotate function as shown in the code below. The output is also displayed right below the code.
im_rotate = im.rotate(40)
im_rotate.show()
3. Creating Thumbnails from normal images
To make all the images to a certain smaller size, one can convert an image into a thumbnail using the thumbnail function. The code for the same is shown below. The thumbnail function takes the height and width of the output image as a parameter.
img1 = Image.open('image1.jpg')
img1.thumbnail((200,200))
img1.show()

4. Blurring an Image
Blur effect can be easily added to images with the help of the PIL module simply by using filter function and making use of the ImageFilter class.
We first need to import the ImageFilter class from the PIL module and then apply the blur effect on the loaded image after converting the image into RGB format to get the accurate pallet for the ImageFilter to work on.
When it comes to blurring an Image PIL comes up with three types of blurring Effects:
- Simple Blur
- Box Blur
- Gaussian Blur
We will be learning to implement each of them one after another.
4.1. Simple Blur
The code below outputs the image with a simple blur effect. Try it out yourself!
from PIL import ImageFilter
img2 = Image.open('image1.jpg')
img2.convert('RGB')
img2.show()
blur_img = img2.filter(ImageFilter.BLUR)
blur_img.show()

4.2. Box Blur
In order to implement, Box Blur one needs to specify the radius which is simply the intensity of blur filter being applied on the image. The code is mentioned below. Have a look!
from PIL import ImageFilter
img2 = Image.open('image1.jpg')
img2.convert('RGB')
blur_img = img2.filter(ImageFilter.BoxBlur(5))
blur_img.show()
In this code, we set the radius as 5, and the image we got is displayed below. Curious about what happens on changing the value of radius? Go ahead you can play around with numbers all you want!

4.3 Gaussian Blur
Gaussian blur takes the exact same parameter, radius but the difference here is that Gaussian blur avoids even the slightest of the edges appearing in the image. This results in an even smoother blur effect.
from PIL import ImageFilter
img2 = Image.open('image1.jpg')
img2.convert('RGB')
blur_img = img2.filter(ImageFilter.GaussianBlur(5))
blur_img.show()
You can see in the image displayed below that Gaussian blur ignores all edges and gives a clean and uniform blur effect on the image.

5. Adding an Watermark on Images
Ever wondered how the creators add their own watermarks to their images? Well, you can add your own watermarks to your images with the help of the ImageDraw function of the PIL module.
The code for the same is shown below with comments added beforehand to guide you through the steps.
from PIL import ImageDraw, ImageFont

## 1. Loading the image
img = Image.open('image1.jpg')

## 2. Creating a drawing object in order to draw on the image
draw = ImageDraw.Draw(img)

## 3. Changing the font style and the size of the font to make the watermark clean
font = ImageFont.truetype('arial.ttf', 36)

## 4. Drawing the text on the image :
                # Add the x and y position values
                # Enter the text to be drawn
                # Set the font to font created in step 3
draw.text((100, 100),"My first Watermark",font=font)
img.show()

Conclusion
Congratulations! Today you learned about a new module for image processing. There is much more in this module to explore but that can be covered in later tutorials.
Hope you liked it! Thank you for reading!
Stay tuned for more tutorials!


