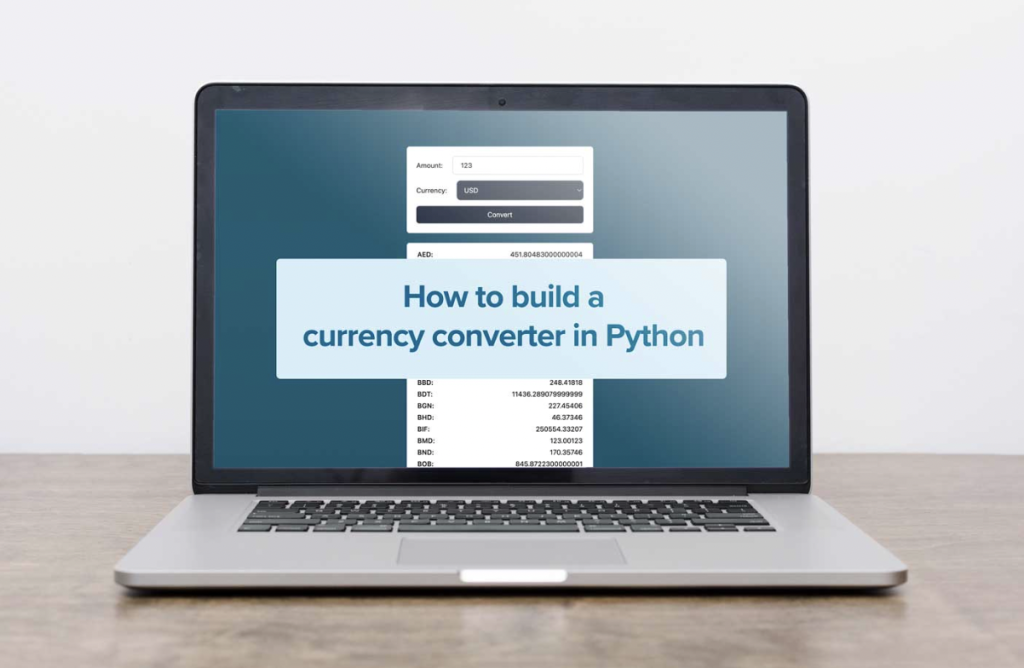
Have you ever tried to offer a product, a service, or simply wanted to display prices in different currencies? Then you know how hard it can be to provide up-to-date and accurate exchange rates.
This is where currency exchange APIs come in. An exchange API helps you handle your forex rate conversions. In this example, we will look at how to integrate a currency API into a simple Python application using the Flask web framework and a bit of Javascript for the front-end styling so you can build your own currency converter.
Step-by-step guide on how to create a currency converter in Python
First, we will set up our development stack:
- Python 3 (> 3.7)
- Flask
- Javascript (Node)
- Yarn (npm install –global yarn)
- Vite
- Tailwind CSS
- postcss
- autoprefixer
- free currencyapi.com API key
Step 1: Initializing our front-end project
To get started, we need to initialize a Vite project in our development workspace:
yarn create vite currency-converter --template vanilla
Step 2: Styling setup (optional)
Styling is optional, but if you choose to follow this step, we recommend using Tailwind CSS. Autoprefixer & postcss further enable a smooth development experience. Therefore, we need to install these packages:
yarn add -D tailwindcss postcss autoprefixer
Now we can initialize tailwind. This creates a config file (tailwind.config.js):
npx tailwindcss init
We now need to adapt this newly created config to work with our Vite project setup:
module.exports = {
 content: [
   './main.js',
   './index.html',
 ],
 theme: {
   extend: {},
 },
 plugins: [],
}
To include Tailwind CSS, add the following lines at the top of your style.css:
@tailwind base;
@tailwind components;
@tailwind utilities;
Next, we need to create a config file named postcss.config.js in our root directory for postcss. We, therefore, add:
module.exports = {
	plugins: [
    	require('tailwindcss'),
    	require('autoprefixer')
	]
}
Step 3: Starting vite
We can now start vite in dev mode to serve our files with hot reloading:
yarn dev
Step 4: Preparing our HTML
Next, we want to adapt the default landing page. To do so, we open the index.html and build a form. We will need the following elements:
- A wrapper for our input <form id=”currency_converter”>t
- An input for our base currency: <input id=”base_currency_input”>
- A base currency selection <select id=”currency”>
- A submit button <button type=”submit”>
- A response container <div id=”result”>
Here is what our implementation of the index.html looks like:
<!DOCTYPE html>
<html lang="en">

<head>
 <meta charset="UTF-8" />
 <link rel="icon" type="image/svg+xml" href="favicon.svg" />
 <meta name="viewport" content="width=device-width, initial-scale=1.0" />
 <title>Currency converter example</title>
</head>

<body class="bg-gradient-to-b from-cyan-800 to-slate-800 min-h-screen py-5">
 <form id="currency_converter" class="mx-auto w-full max-w-sm bg-white shadow rounded-md p-5 space-y-3 text-sm">
   <div class="flex items-center space-x-5">
     <label for="base_currency_input">Amount:</label>
     <input type="tel" id="base_currency_input" name="base_currency_input" placeholder="1" value=""
       class="grow border-slate-300 border rounded-md py-2 px-4 text-sm" required />
   </div>
   <div class="flex items-center space-x-5">
     <label for="currency">Currency:</label>
     <select name="currency" id="currency"
       class="bg-gray-50 border border-gray-300 text-gray-900 text-sm rounded-lg focus:ring-blue-500 focus:border-blue-500 block w-full p-2.5 dark:bg-gray-700 dark:border-gray-600 dark:placeholder-gray-400 dark:text-white dark:focus:ring-blue-500 dark:focus:border-blue-500">
       <option selected value="USD">USD</option>
       <option value="EUR">EUR</option>
       <option value="CHF">CHF</option>
     </select>
   </div>
   <button type="submit" class="bg-slate-800 text-white rounded-md py-2 px-4 mx-auto relative block w-full">Convert
   </button>
 </form>
 <div id="result"
   class="mx-auto my-5 w-full max-w-sm bg-white shadow rounded-md relative overflow-hidden text-sm empty:hidden divide-y divide-dotted divide-slate-300">
 </div>
 <script type="module" src="/main.js"></script>
</body>

</html>
Step 5: Handling the form submission in JavaScript
In our main.js, we send the currency amount (`base_currency_input`) and the currency (`base_currency`) to our backend. We will receive a list of all currencies and the corresponding values in the response.
import './style.css'

const currencyConverter = document.getElementById('currency_converter');
const baseCurrencyInput = document.getElementById('base_currency_input');
const baseCurrency = document.getElementById('currency');
const resultContainer = document.getElementById('result');

currencyConverter.addEventListener('submit', (e) => {
 e.preventDefault();

 fetch(`http://localhost:6001/convert?` + new URLSearchParams({ 'base_currency_input': baseCurrencyInput.value, 'currency': baseCurrency.value }))
   .then(response => response.json())
   .then(data => {
     var result = '<div class="space-y-1 px-5 py-3 border-2 rounded-md">';
     for (let entry of data) {
       result += `<div class="flex items-baseline justify-between"><span class="font-medium">${entry.code}:</span><span>${entry.value}</span></div>`;
     }
     resultContainer.innerHTML = result;
   });
});
Step 6: Preparing the backend application
Now, we create a new folder, ie: `backend-application` inside the `currency-converter` folder:
Note: The commands are valid for macOS/Linux; for Windows, please check here.
mkdir backend-application
cd backend-application
python3 –m venv venv
. venv/bin/activate
pip install Flask currencyapicom
Step 7: Creating the backend app
In the last step, we simply add a new file called `main.py`:
from flask import Flask, request, jsonify
from currencyapicom import Client
from config import CURRENCYAPI_KEY

app = Flask(__name__)


@app.route("/convert", methods=['GET'])
def convert():
   currency_input = request.args.get('base_currency_input', '')
   currency = request.args.get('currency', 'USD')

   if currency_input and currency in ['USD', 'EUR', 'CHF']:
       api_client = Client(CURRENCYAPI_KEY)
       response = api_client.latest(currency)

       response = jsonify([{'value': response['data'][x]['value'] * float(currency_input), 'code': x} for x in response['data'].keys()])
       response.headers.add("Access-Control-Allow-Origin", "*")

       return response
We can run the application with a few simple commands (we bind the port to 6001 to avoid conflict with other apps):
export FLASK_APP=main
flask run –port 6001
In the last step, we need to create a `config.py` file, including the currencyapi.com API key. You can get it free and learn more about the API in the documentation.
And that’s it!
Up-to-date and accurate
With these few steps, you can now build your own currency converter using Python and display accurate and up-to-date prices in different currencies. There are many use cases for a currency converter; whether you use it for e-commerce stores, analytics, or spreadsheets, we hope this tutorial will guide you through the process.
